Planning for Installation
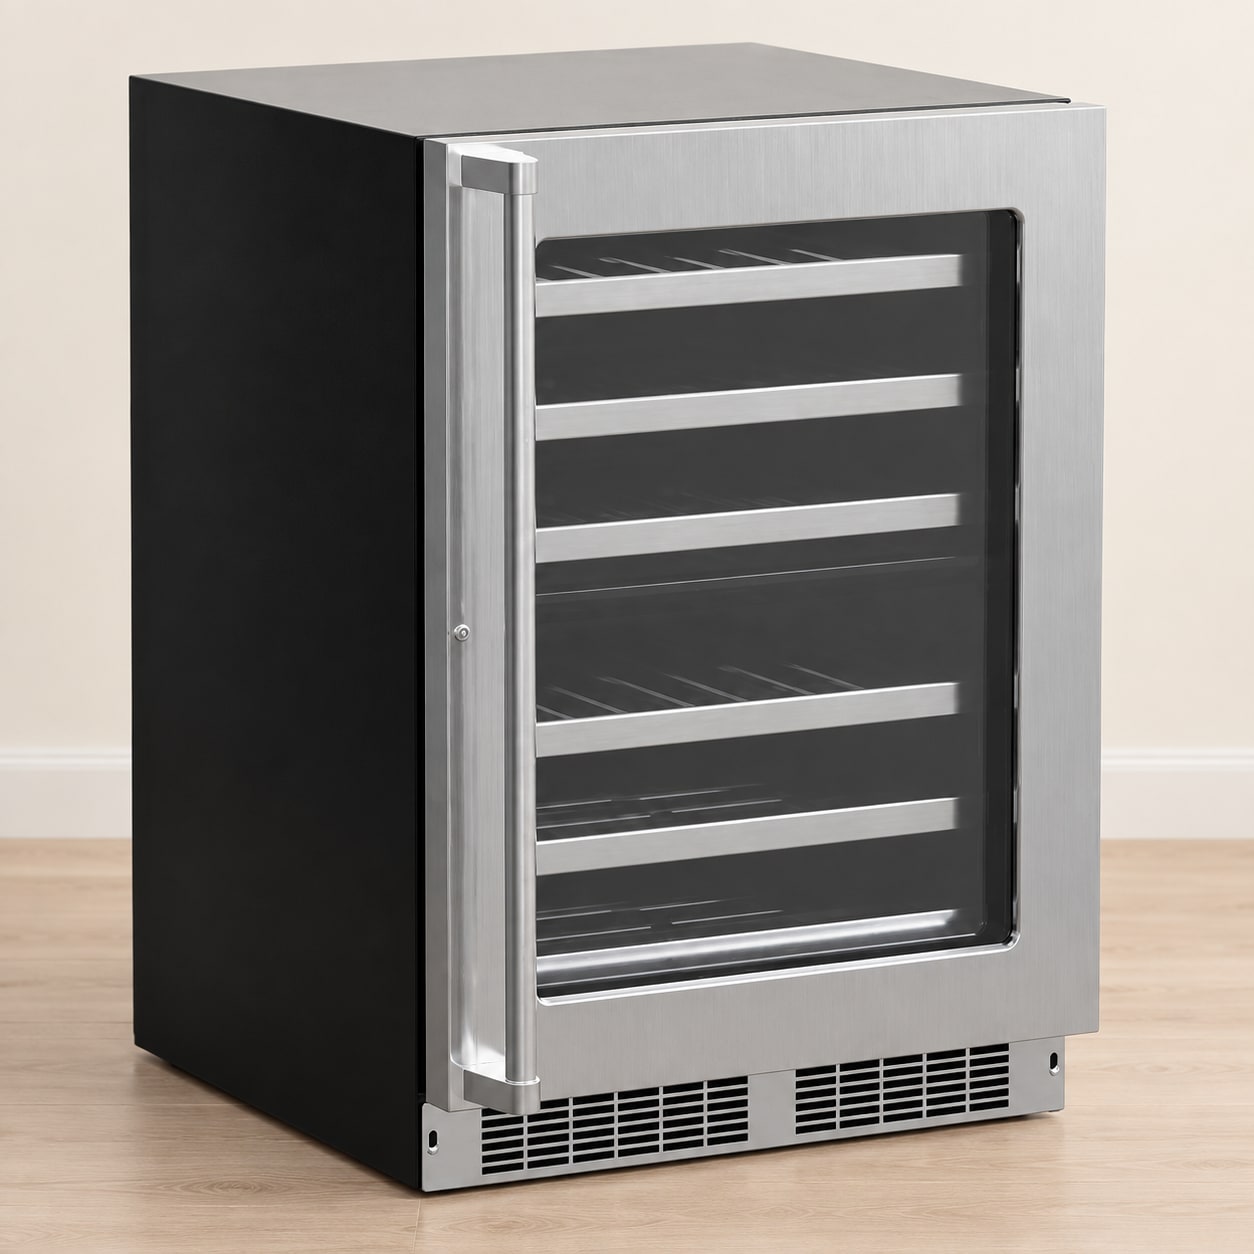
A built-in wine refrigerator fits the cabinet opening on the drawing, not the one on the tape measure. Before the cabinetry is finished, check the required opening, ventilation, power supply, door swing and route for removing the unit for service. Send Mike the cabinet drawing and the model and he will check it against the spec sheet.
Considerations before installing a built-in wine refrigerator
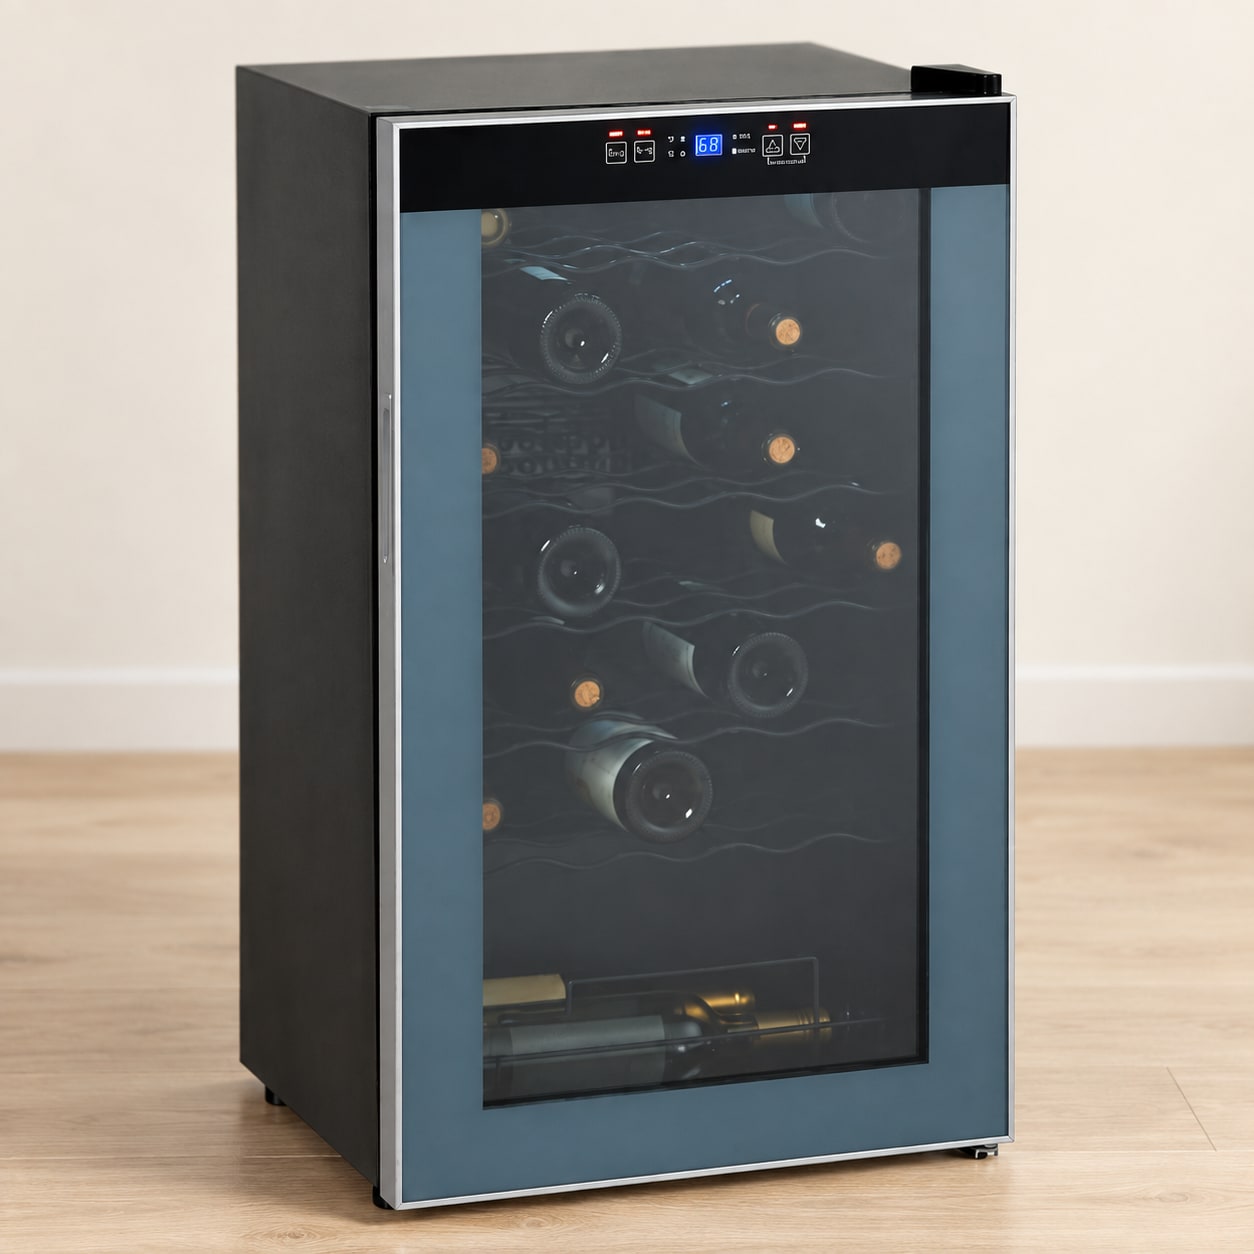
Before installing a built-in wine refrigerator, there are several important considerations to keep in mind. Firstly, assess the available space in your kitchen and determine the size and capacity of the unit needed. Secondly, consider the specific features you desire, such as temperature control, humidity control, and vibration reduction. Lastly, consider your budget and consult with professionals at Wine Hardware for expert advice and guidance throughout the installation process.
Measuring the space for your wine refrigerator
To ensure a seamless installation, it is crucial to measure the space where the wine refrigerator will be installed. Start by measuring the height, width, and depth of the designated area. Take into account the clearance needed for proper ventilation. This accurate measurement will help you choose the right size and ensure a perfect fit for your built-in wine refrigerator from Wine Hardware.
Preparing the Installation
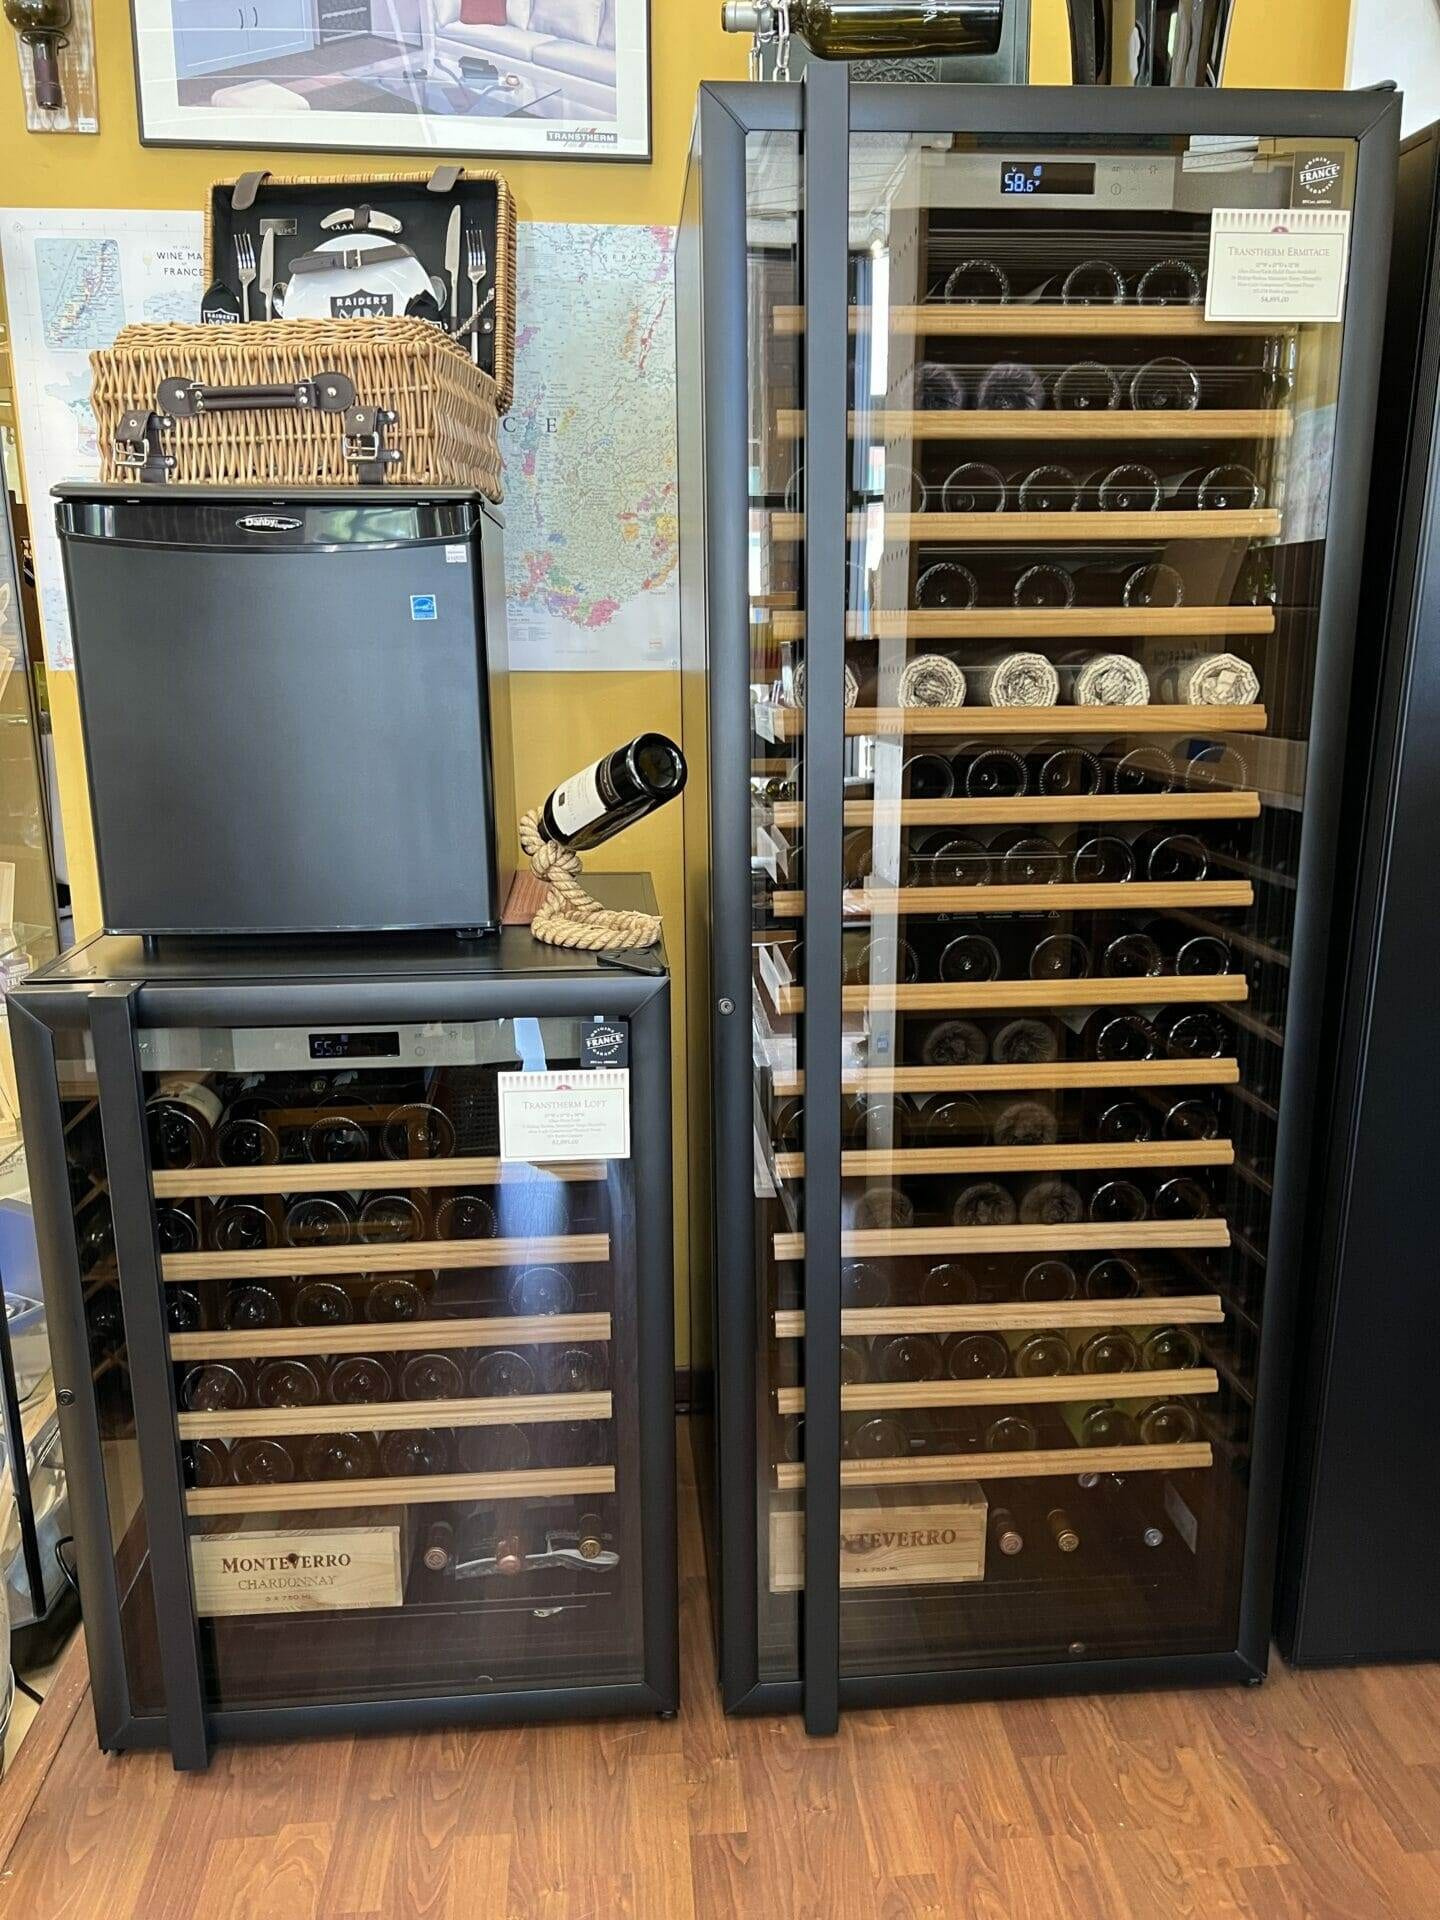
Before installing a built-in wine refrigerator from Wine Hardware in your kitchen, several preparatory steps need to be taken. Choosing the right location is key, considering factors such as accessibility, aesthetics, and functionality. Adequate ventilation must also be ensured to promote efficient cooling and prevent overheating. By carefully planning and preparing the installation, you can create a seamless integration of your wine refrigerator into your kitchen space.
Choosing the right location for your wine refrigerator
When choosing the right location for your wine refrigerator, consider a spot that is easily accessible and complements the aesthetics of your kitchen. It is important to place the refrigerator away from any heat sources or direct sunlight, as this can affect the cooling efficiency. Ensure there is enough space for the refrigerator to open fully without any obstructions.
Ensuring proper ventilation for efficient cooling
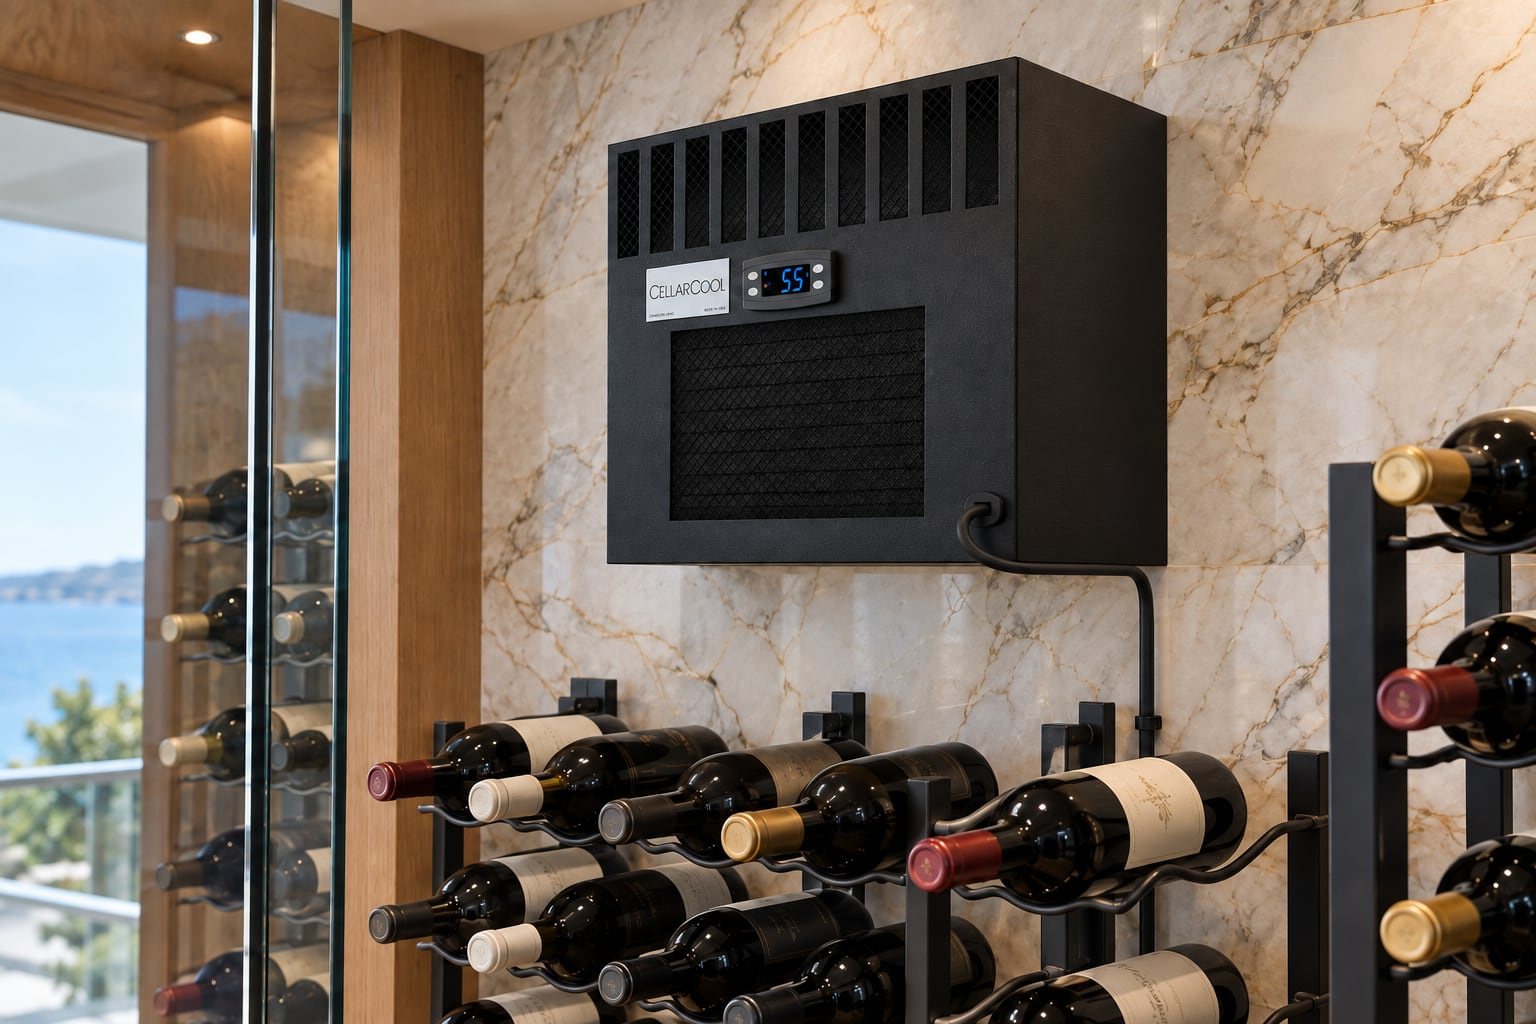
Proper ventilation is crucial for the efficient cooling of your built-in wine refrigerator. Adequate airflow helps maintain the desired temperature and prevents the unit from overworking. Make sure there is enough space around the refrigerator for air to circulate freely. Keep the vents clear of any obstructions such as cabinets or walls. This will ensure that your wine stays at the perfect temperature for optimal enjoyment.
Installing the Wine Refrigerator
Once you have chosen the location for your built-in wine refrigerator, it’s time to install it. Start by carefully mounting the unit into the designated cabinet space. Follow the manufacturer’s instructions for securing the refrigerator in place. Next, connect the power supply according to the provided guidelines. Finally, test the unit to ensure it is functioning properly before proceeding to the next steps.
Steps to mount the wine refrigerator into the cabinet
To mount the wine refrigerator into the cabinet, start by carefully positioning the unit in the designated space. Use the provided brackets or screws to secure it firmly. Ensure that the refrigerator is level and flush with the surrounding cabinet. Follow the manufacturer’s instructions for proper installation. Double-check the stability before moving on to the next step.
Connecting the power supply and testing the unit
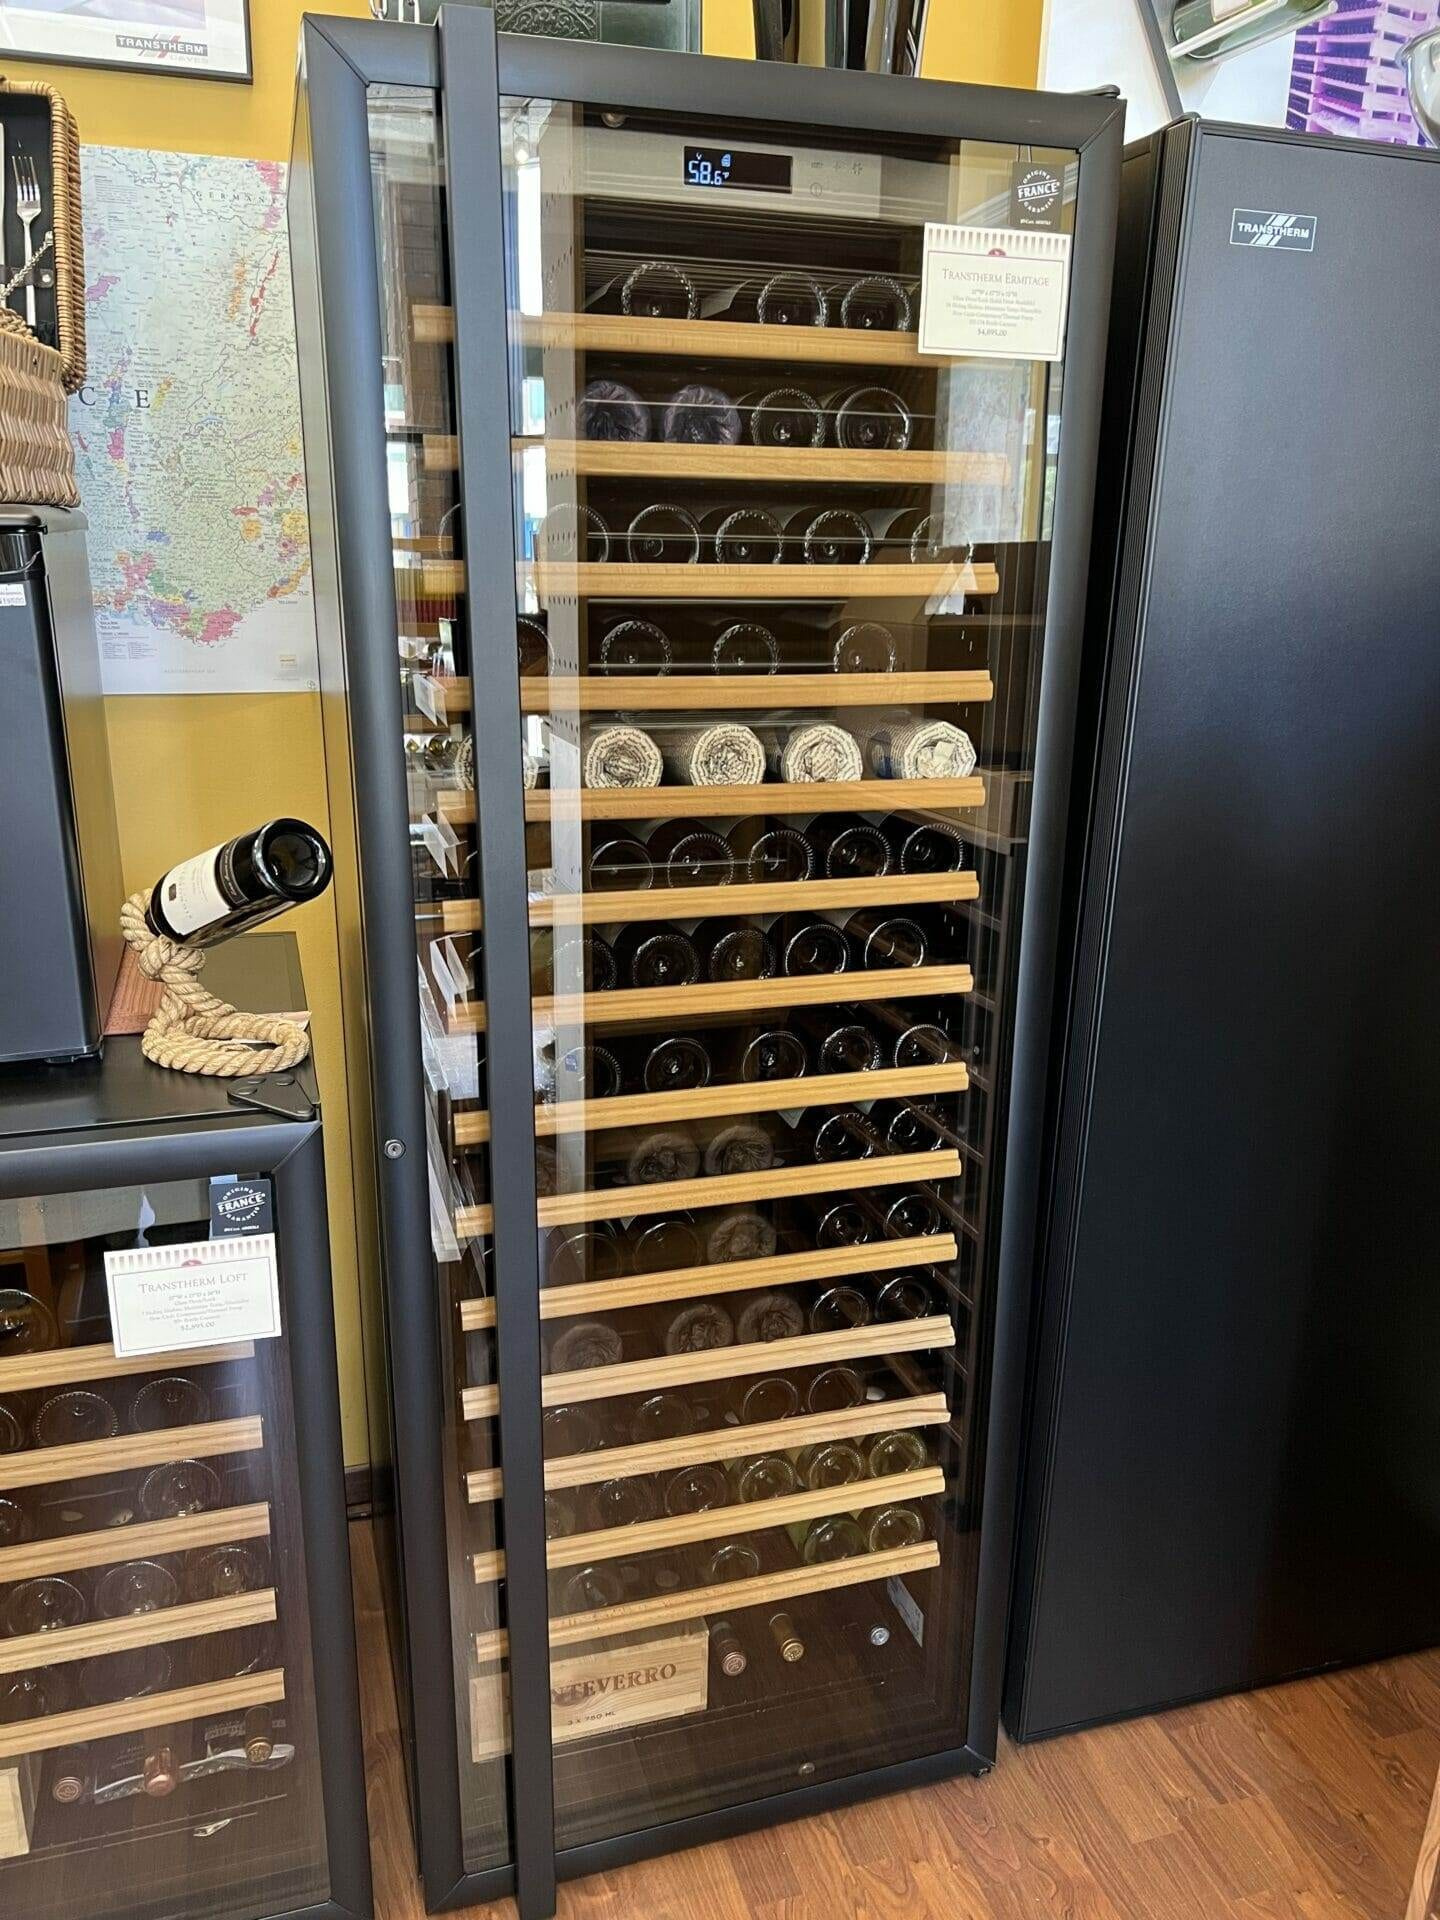
After mounting the wine refrigerator securely in the cabinet, the next step is to connect the power supply. Carefully plug the unit into a nearby electrical outlet that can handle its power requirements. Once connected, turn on the wine refrigerator and allow it to cool for a few hours before loading it with wine bottles. Test the different temperature settings to ensure the unit is functioning properly.
Customizing the Installation
Adding finishing touches to integrate the wine refrigerator seamlessly into your kitchen is essential for a polished look. Wine Hardware offers customization options, such as panel-ready models that can be fitted with matching cabinetry panels. This creates a cohesive and uniform appearance. Additionally, adjusting the shelves to accommodate different bottle sizes and arranging the temperature settings based on your wine preferences ensures optimal storage conditions for your collection.
Adding finishing touches to integrate the wine refrigerator seamlessly
To achieve a polished look, Wine Hardware offers customization options for their wine refrigerators. They have panel-ready models which can be fitted with matching cabinetry panels to create a cohesive and uniform appearance in your kitchen. Additionally, you can adjust the shelves to accommodate different bottle sizes and arrange the temperature settings based on your wine preferences, ensuring optimal storage conditions for your collection.
Adjusting the shelves and temperature settings for optimal storage
To ensure optimal storage conditions for your wine collection, the wine refrigerator from Wine Hardware allows you to adjust the shelves to accommodate different bottle sizes. This gives you the flexibility to organize your bottles efficiently and prevent any damage or movement during storage. In addition to shelf adjustments, you can also customize the temperature settings based on your preferences, maintaining the ideal temperature and humidity levels for your wines. With these features, you can confidently store your beloved wines in the best conditions possible.
Maintenance and Care
Regular cleaning and maintenance are essential to keep your built-in wine refrigerator in optimal condition. Disconnect the power before cleaning. Use a mild detergent and a soft cloth to wipe down the interior and exterior surfaces. Avoid using abrasive cleaners that could damage the finish. Ensure the shelves are secure and free from any spills or sediment buildup. Regularly check the temperature settings and adjust as needed. Lastly, schedule professional maintenance checks to ensure efficient operation and prolong the lifespan of your wine refrigerator.
Regular cleaning and maintenance tips for your built-in wine refrigerator
Regular cleaning and maintenance are vital to ensure the optimal performance of your built-in wine refrigerator. To keep it in top condition, use a soft cloth and mild detergent to wipe down both the interior and exterior surfaces. Avoid abrasive cleaners that could damage the finish. Check and clean the shelves regularly, ensuring they are free from spills or sediment buildup. Additionally, schedule professional maintenance checks to ensure efficient operation and prolong the lifespan of your wine refrigerator.
Troubleshooting common issues and seeking professional help
If you encounter any issues with your built-in wine refrigerator, there are a few troubleshooting steps you can take. Start by checking if the power supply is functional and the temperature settings are correct. If the problem persists, it may be time to seek professional help. Contact Wine Hardware’s customer service team, who can provide guidance and connect you with qualified technicians for repairs or maintenance.
Enjoying Your Wine Refrigerator
Organizing your wine collection in the newly installed refrigerator is a breeze. With adjustable shelves, you can arrange your bottles to fit any size or shape. Keep your whites chilled and your reds at the perfect temperature for serving. A built-in wine refrigerator in your kitchen adds a touch of elegance and sophistication, allowing you to indulge in your favorite bottles anytime. Cheers to convenient and enjoyable wine storage!
Organizing your wine collection in the newly installed refrigerator
With adjustable shelves, the newly installed wine refrigerator from Wine Hardware allows for easy organization of your wine collection. Arrange your bottles to fit any size or shape, ensuring that each bottle is stored securely and conveniently. Now you can keep your whites chilled and your reds at the perfect serving temperature, ready to be enjoyed at any moment. Cheers to a well-organized wine collection!
Benefits of a built-in wine refrigerator in your kitchen
Installing a built-in wine refrigerator from Wine Hardware in your kitchen comes with several benefits. Firstly, it provides a dedicated space for storing and preserving your wine collection at the ideal temperature. This ensures that each bottle is kept in optimal condition, ready to be enjoyed at any time. Additionally, a built-in wine refrigerator adds an elegant and sophisticated touch to your kitchen, enhancing its aesthetic appeal. Finally, having your wine collection easily accessible allows for effortless entertaining and hosting guests.
You can review a built-in refrigerator choice before the kitchen opening is finished with Mike. Call (925) 944-1084 to talk it through with your model number and room photos in hand.
More on built-in wine refrigerator installation planning
A kitchen wine refrigerator should fit the cabinetry and the moment you reach for a bottle. In a Danville kitchen, that might mean an undercounter position near the dining area, a separate drinks station or storage beside a home bar. Start with traffic, door movement and the appliance's installation requirements. Wine Hardware can help compare wine refrigeration options before a cabinet opening or finish detail locks the plan in place.
Place the wine where it will be served
Trace the route from the refrigerator to the place you pour and serve. Consider whether a guest can select wine without standing in the cooking area. A drinks station near the dining room may work differently from a unit beside food preparation, especially when several people use the kitchen at once.
Mark the appliance door on the plan in its open position. Check for conflict with drawers, cabinet doors, an island and the path to a nearby room. Include the person standing in front of the refrigerator while a shelf is extended. A clean elevation drawing should be followed by this practical test of the space in use.
Specify a unit for the intended opening
An appliance that physically slides beneath a counter is not automatically suitable for that installation. Use the exact model's current instructions to confirm whether it is intended for built-in or freestanding use, where it ventilates and what clearances it requires. Give the cabinetmaker the installation drawing rather than a general product photograph.
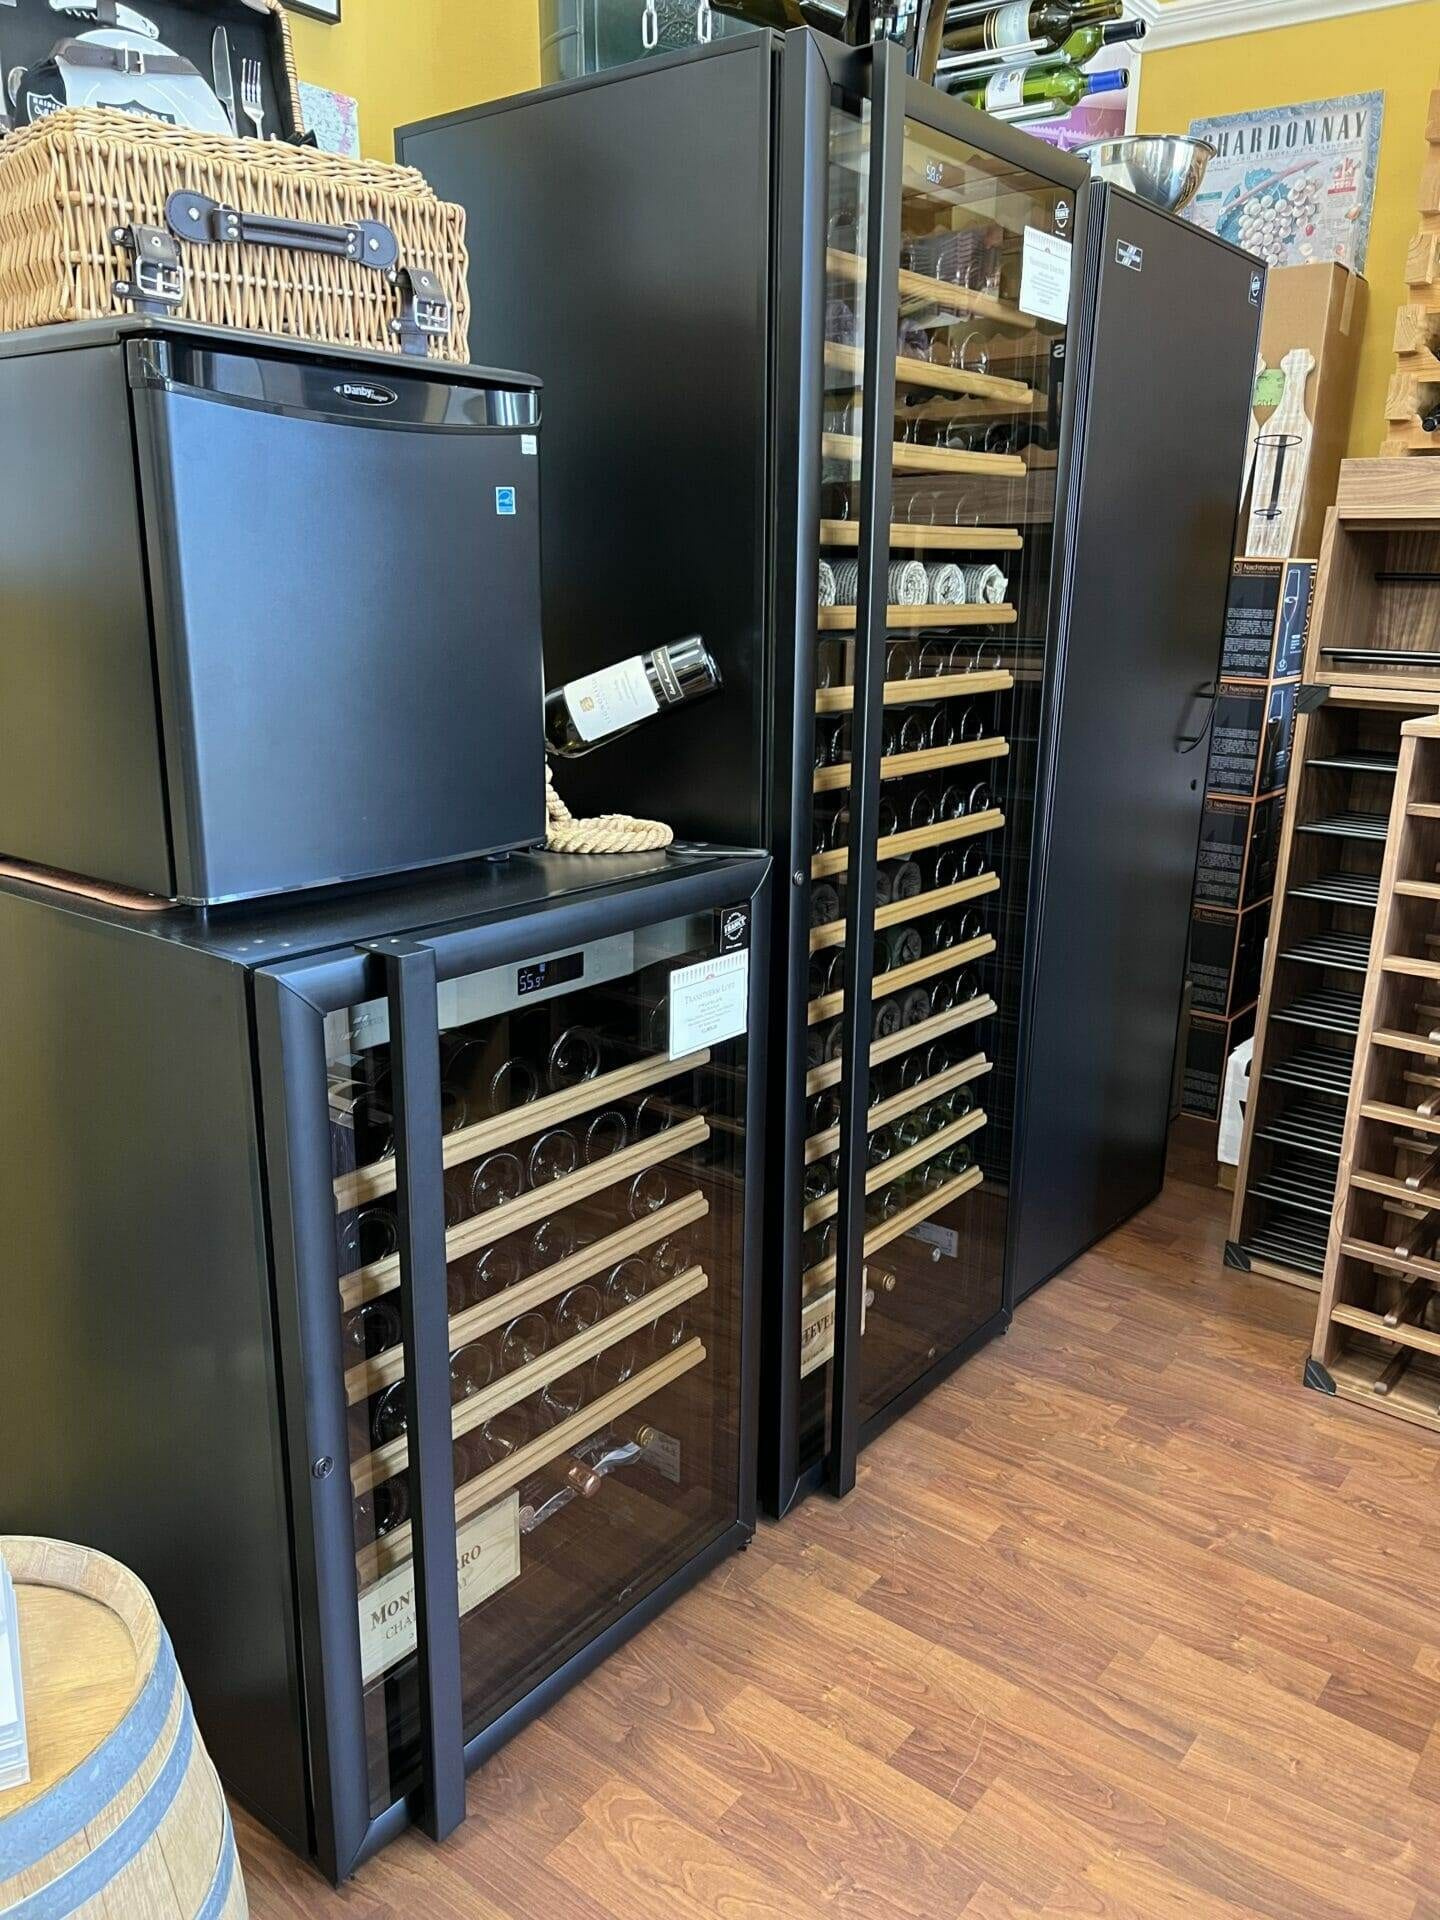
Wine Hardware carries Marvel and Transtherm wine refrigerators. Compare the model appropriate to the application, then confirm the opening, hinge behavior, power location and service access. Keep trim and plinth details provisional until these are settled. A finish panel should never be designed around an assumed ventilation route or an unconfirmed panel-ready capability.
Count usable bottles, not only advertised capacity
Make a short list of the bottles you expect to keep in the kitchen. Include sparkling wine, broad shoulders, tall bottles and any formats you buy frequently. Ask how those bottles fit the selected shelving layout and whether changing shelf positions affects the number you can actually store.
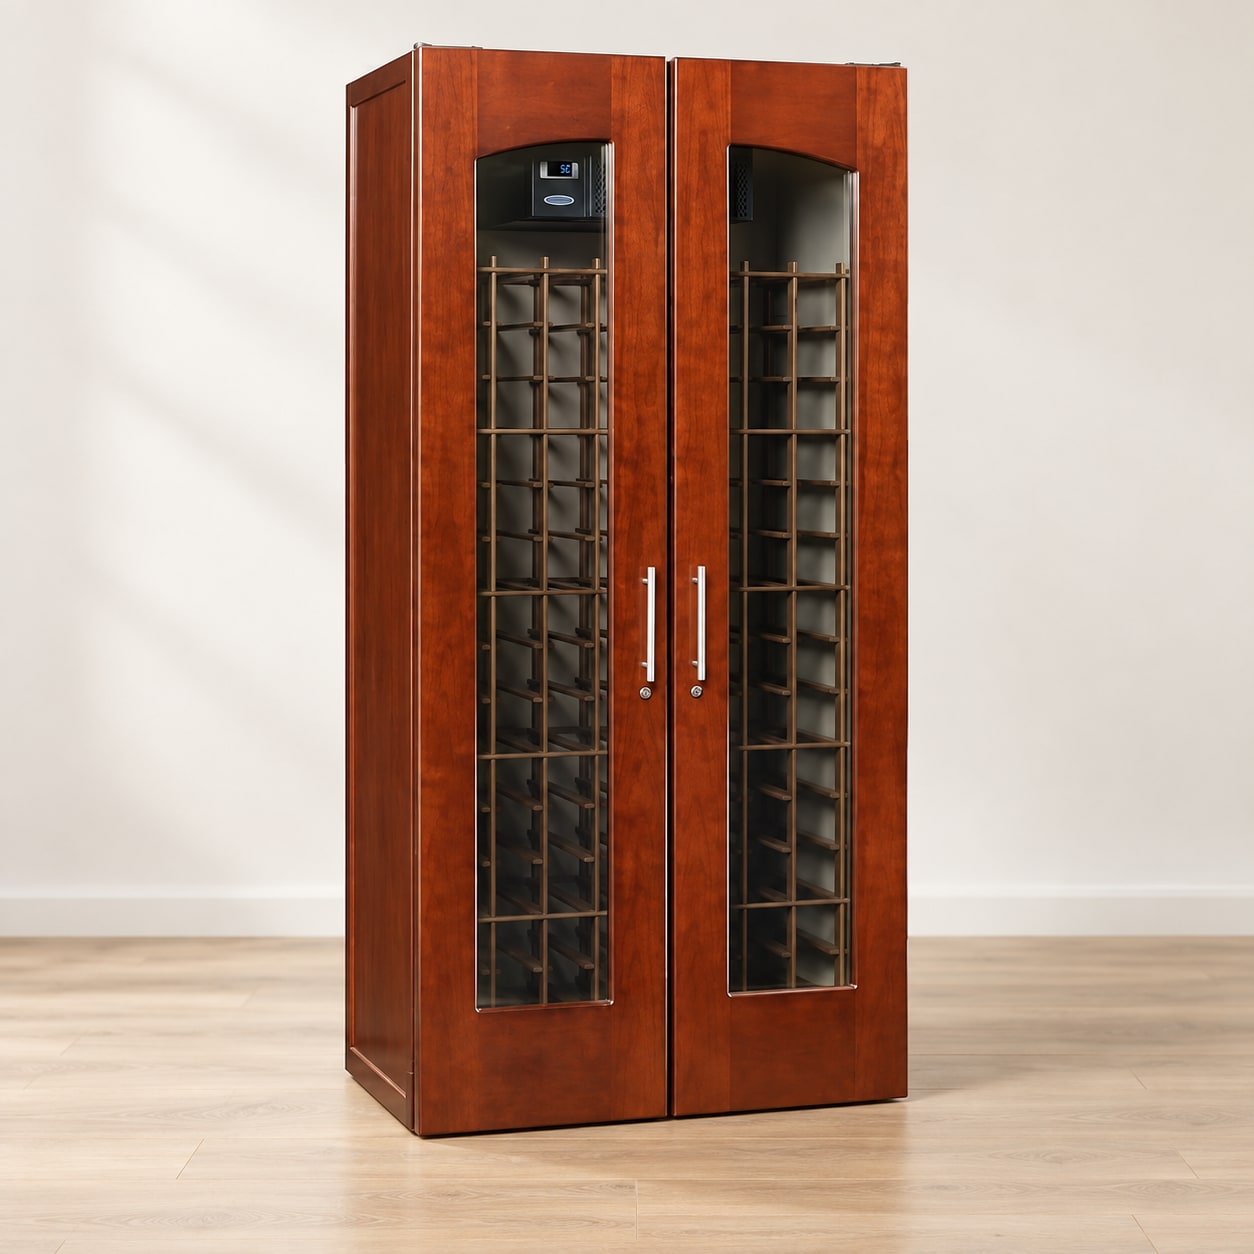
A kitchen cabinet may hold ready-to-serve bottles while another location holds wines you are keeping longer. Decide that division before asking for the largest appliance that fits. It can be more useful to have a clearly organized selection near dinner than a crowded refrigerator that requires unloading several bottles whenever you want one from the back.
Match temperature zones to your routine
If you want different wines ready for service, compare single-zone and dual-zone models by their actual controls and usable zones. Do not assume all dual-zone units offer the same range or let either compartment take any setting. Ask what the selected model permits and how the zones affect bottle layout.
Separate serving preferences from plans for longer storage. Owning both red and white wines does not by itself settle the appliance choice. Explain when you buy, when you open bottles and whether another cellar or cabinet already serves part of the collection. That gives the temperature discussion a purpose beyond adding a feature to the kitchen specification.
Coordinate the visible details last
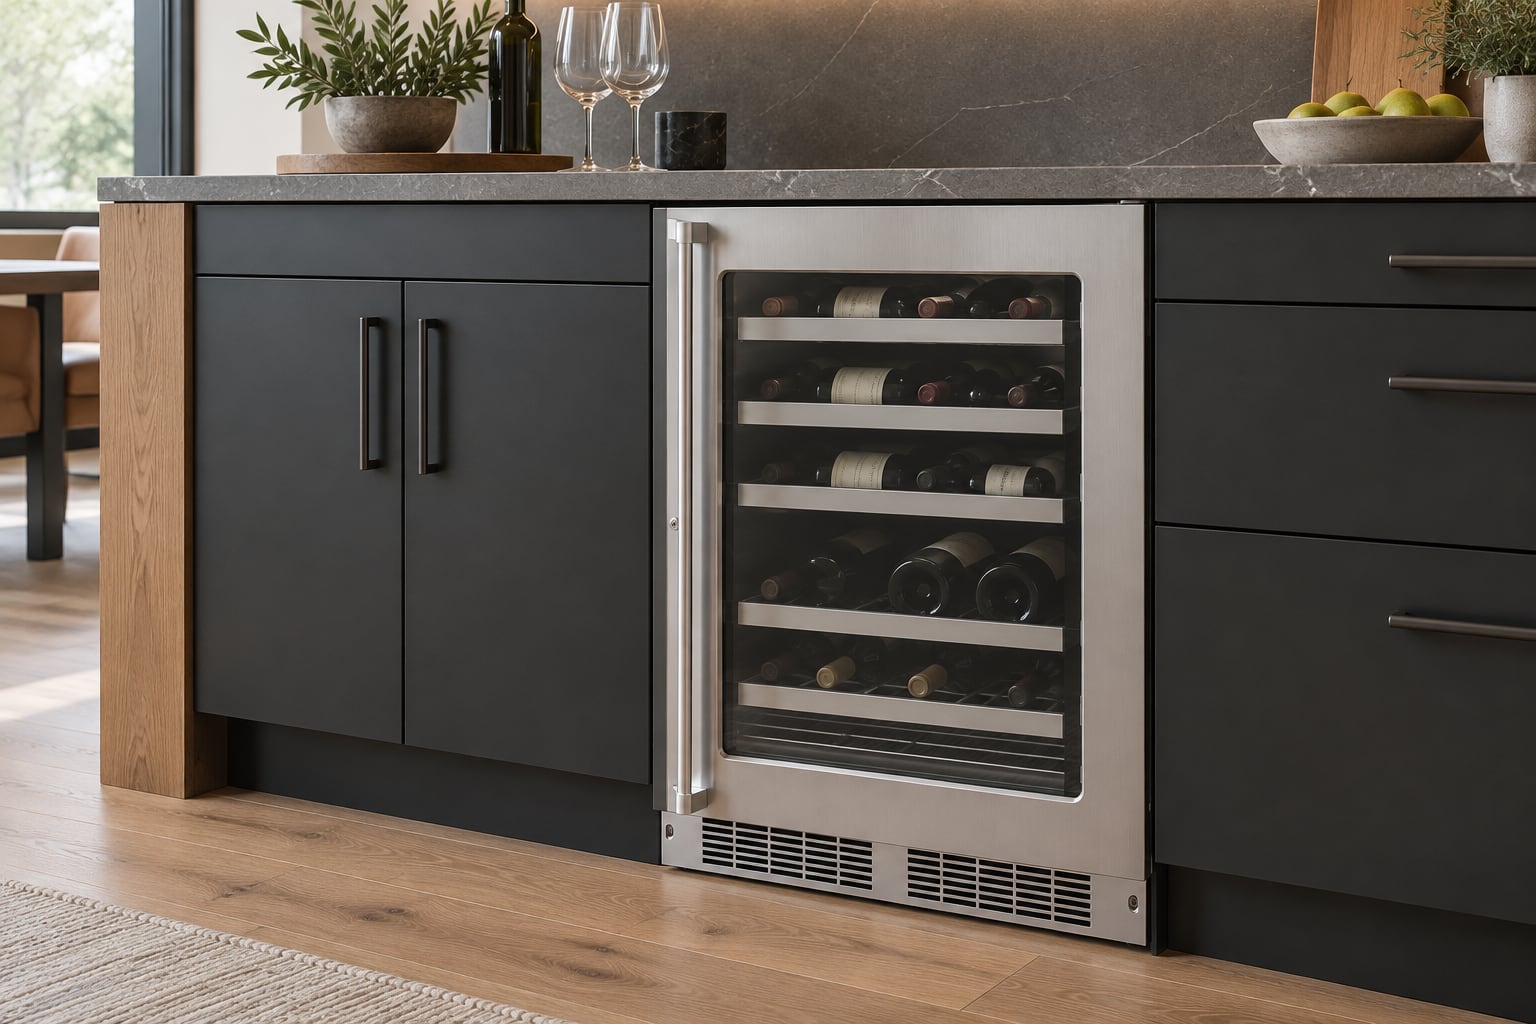
Once the appliance and location are workable, compare the handle, door finish, glass and interior lighting with the kitchen materials. View samples in the light the room actually receives. If the refrigerator sits in sight from a dining table, check reflections and whether the interior light can be used as you intend.
Keep countertop landing space close enough to set a bottle down before opening it. Plan storage for the corkscrew and glasses so the wine station functions as a small sequence: select, set down, open and serve. These are useful design improvements even when you choose a straightforward appliance without additional electronic features.
Confirm delivery and future access
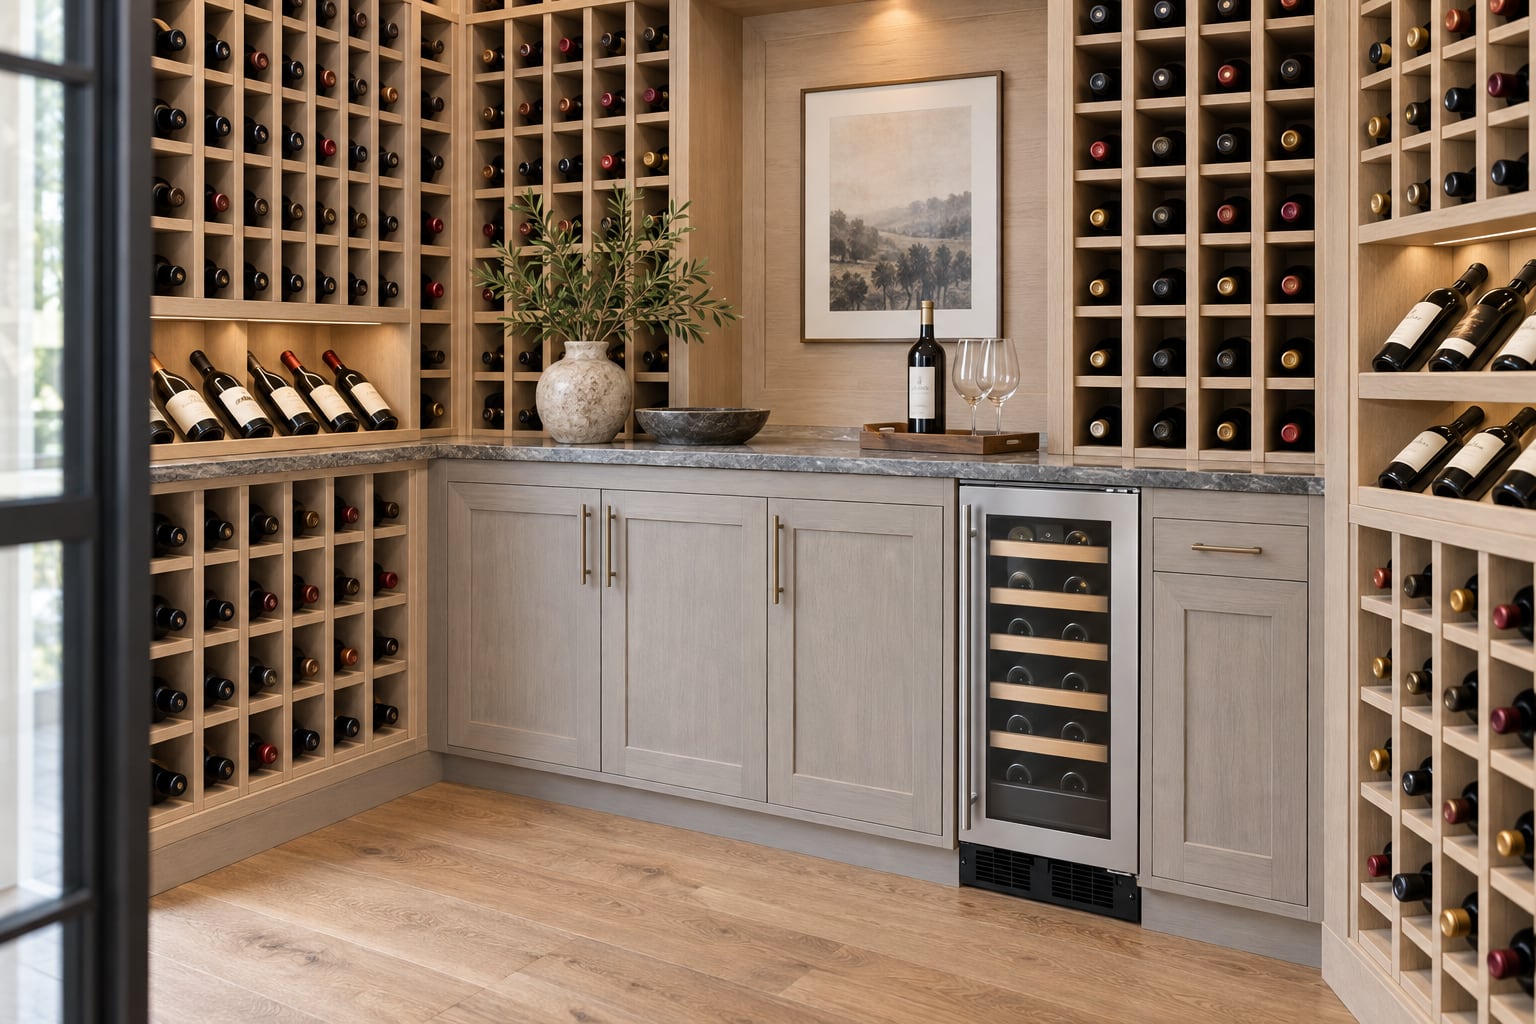
Measure the route into the home as well as the final opening. Discuss thresholds, turns and where the appliance can be staged while the kitchen work is completed. Ask who will receive it, inspect it and handle installation. For large equipment, request the applicable freight quote and delivery arrangements before scheduling the cabinetry around arrival.
Leave a way to remove the unit for service without dismantling an unrelated part of the kitchen. Keep the model number and installation documents with the cabinet plans. Bring those plans to our Walnut Creek showroom while changes are still easy to make; the best time to resolve a wine refrigerator detail is before the opening is finished.
Questions before you decide
Can I put a freestanding wine fridge in cabinetry?
Only if the specific manufacturer's installation requirements permit the proposed arrangement. Physical fit alone does not establish ventilation or clearance compatibility. Confirm the exact model before the cabinet opening is built.
Do I need a dual-zone model for reds and whites?
That depends on how you intend to use the appliance. Different ready-to-serve temperatures may be useful, while your longer storage needs could be different. Compare the actual zone limits and bottle layout of the selected model.
What should the cabinetmaker receive?
Provide the exact model's current installation drawing and agreed details for ventilation, opening size, power, door movement and service removal. Confirm any panel or handle requirements instead of assuming they are shared across a product range.
Send Wine Hardware your Danville kitchen plan and ask about refrigerator fit, or call (925) 944-1084 before finalizing the cabinet opening.