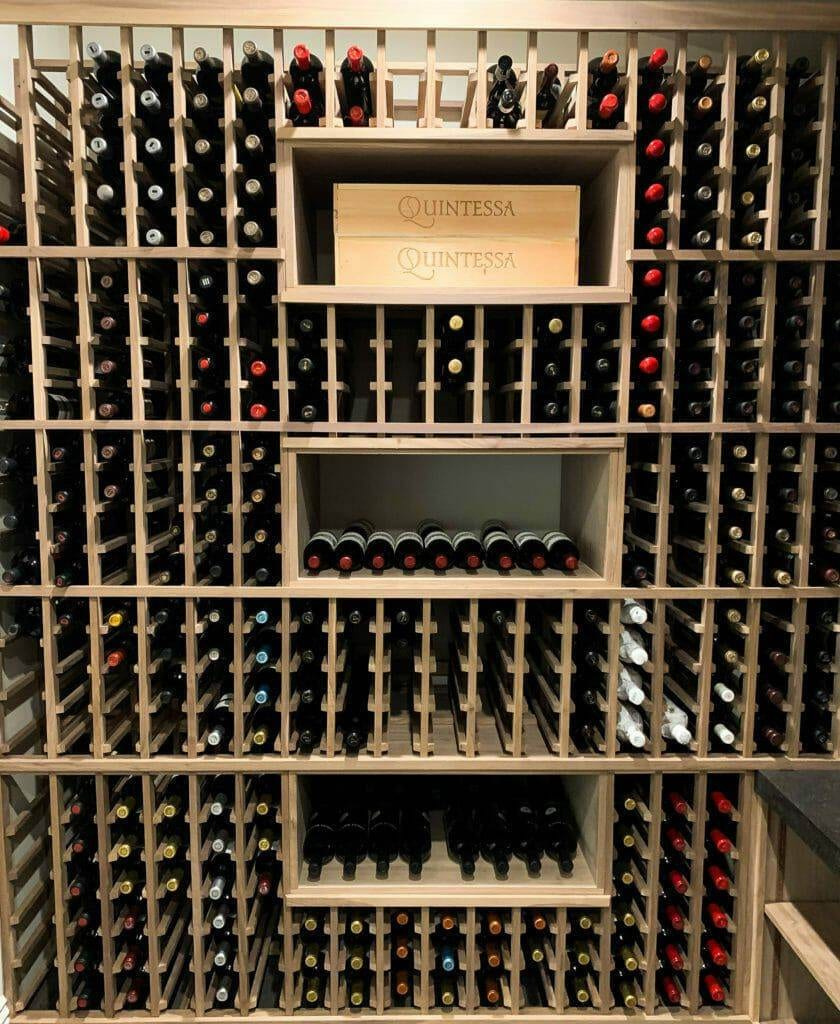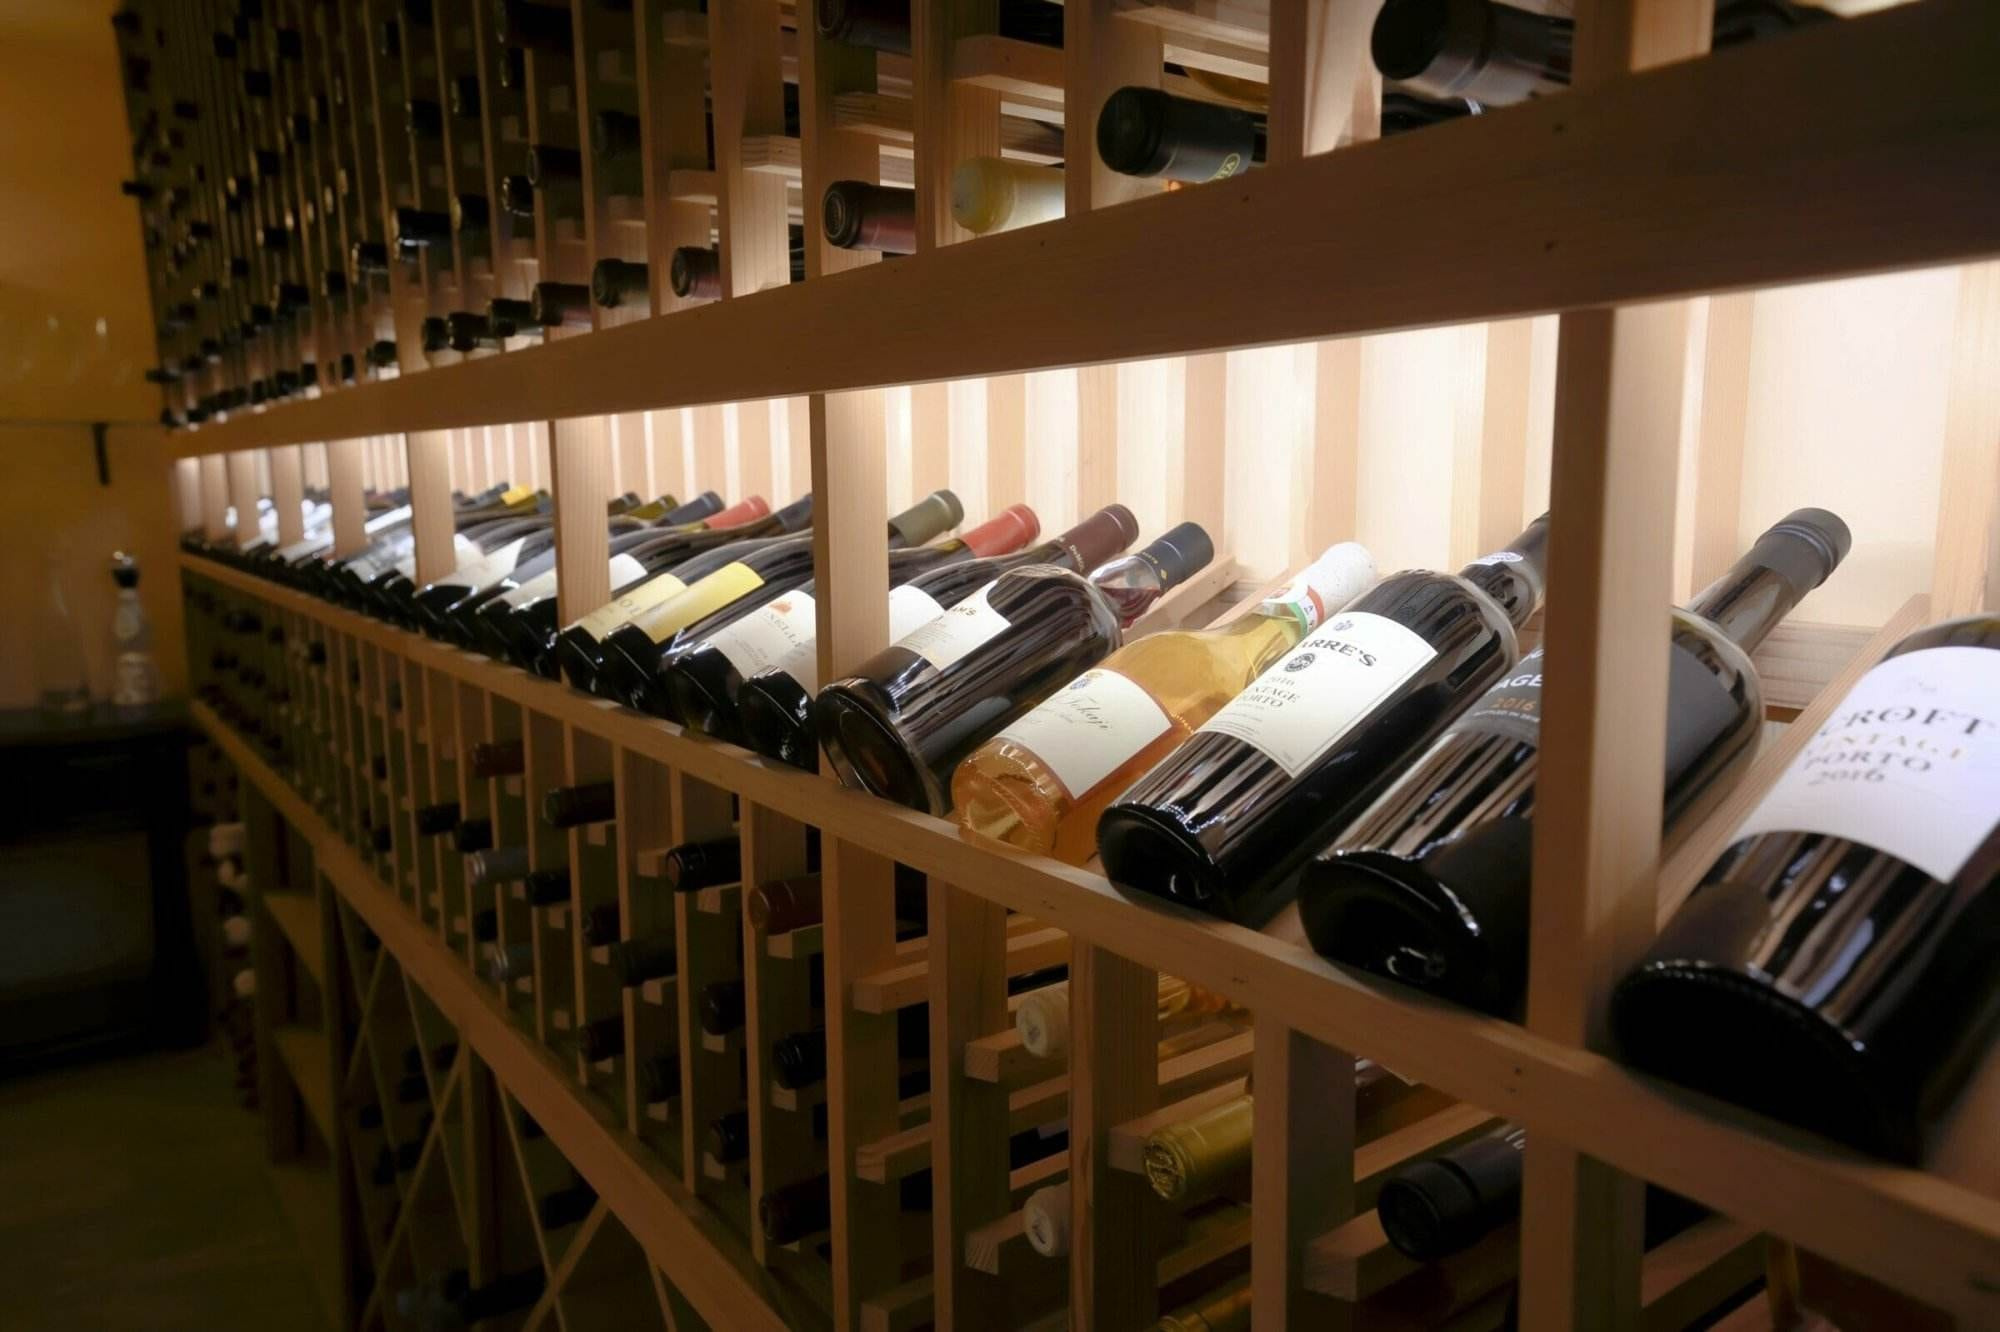
Planning Your Wine Rack Project
A rack you build yourself is cheapest when the design is settled before the saw comes out. Confirm the full parts list, the bottle formats it has to hold and how it will be fixed to the wall, then set the workspace up and be honest about which steps want a second pair of hands. Modularack and VintageView components are on the floor in Walnut Creek if you would rather assemble than cut.
Deciding on the perfect location for your wine rack
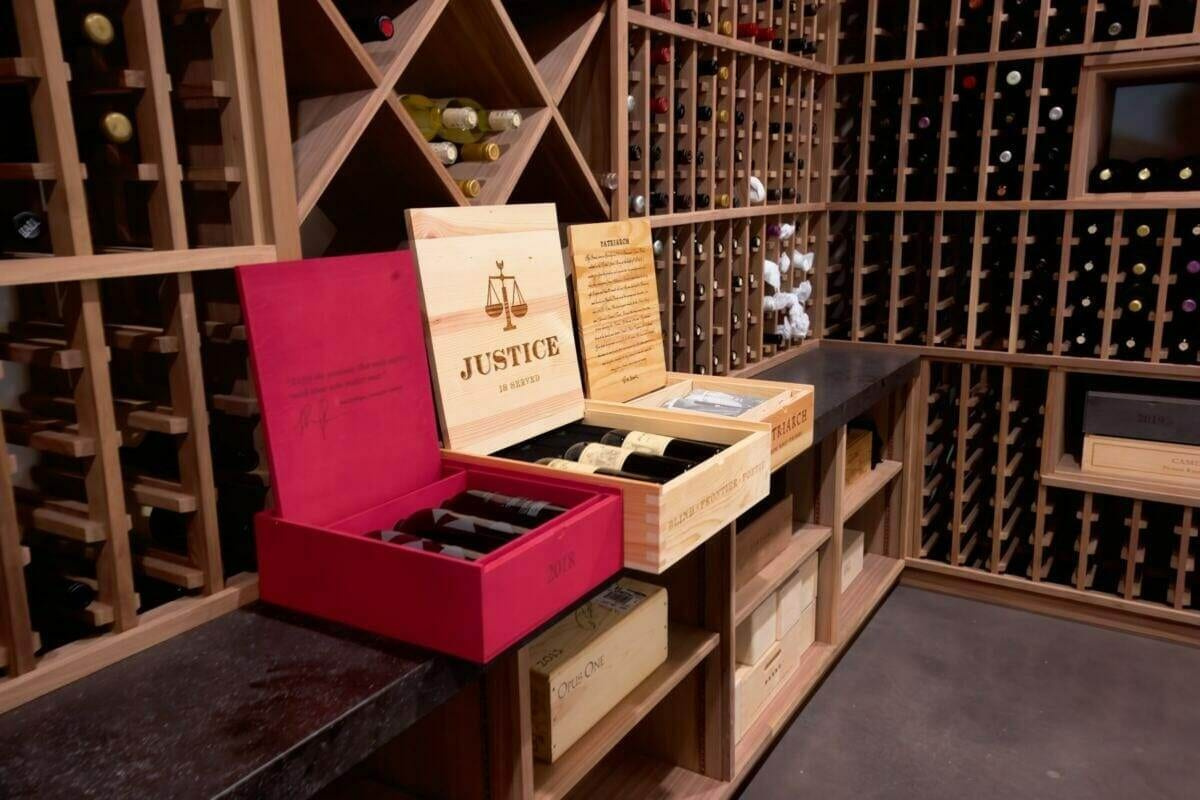
When deciding on the perfect location for your wine rack, consider a space that is cool and away from direct sunlight. It should also be easily accessible for pouring and selecting wine. The ideal location could be a corner in the dining room, a basement area, or even a dedicated wine cellar. Assess the available space and choose a spot that enhances both functionality and aesthetics.
Determining the size and capacity needed for your collection
Determining the size and capacity needed for your collection is an essential step when planning your wine rack. Consider the number of bottles you currently have and how much you anticipate expanding your collection in the future. Measure the dimensions of your wine bottles and calculate the space required for each bottle. This will help you determine the width, height, and depth of your wine rack to ensure it can accommodate your collection.
Necessary Tools and Materials
Essential tools for building a wine rack on a budget
To tackle your DIY wine rack project, you’ll need a few essential tools. These include a power drill, screws, a level, a measuring tape, and a saw. These tools will help you accurately measure and cut the wood, assemble the rack securely, and ensure it is level and stable. Having these tools on hand will make the construction process much smoother and efficient.
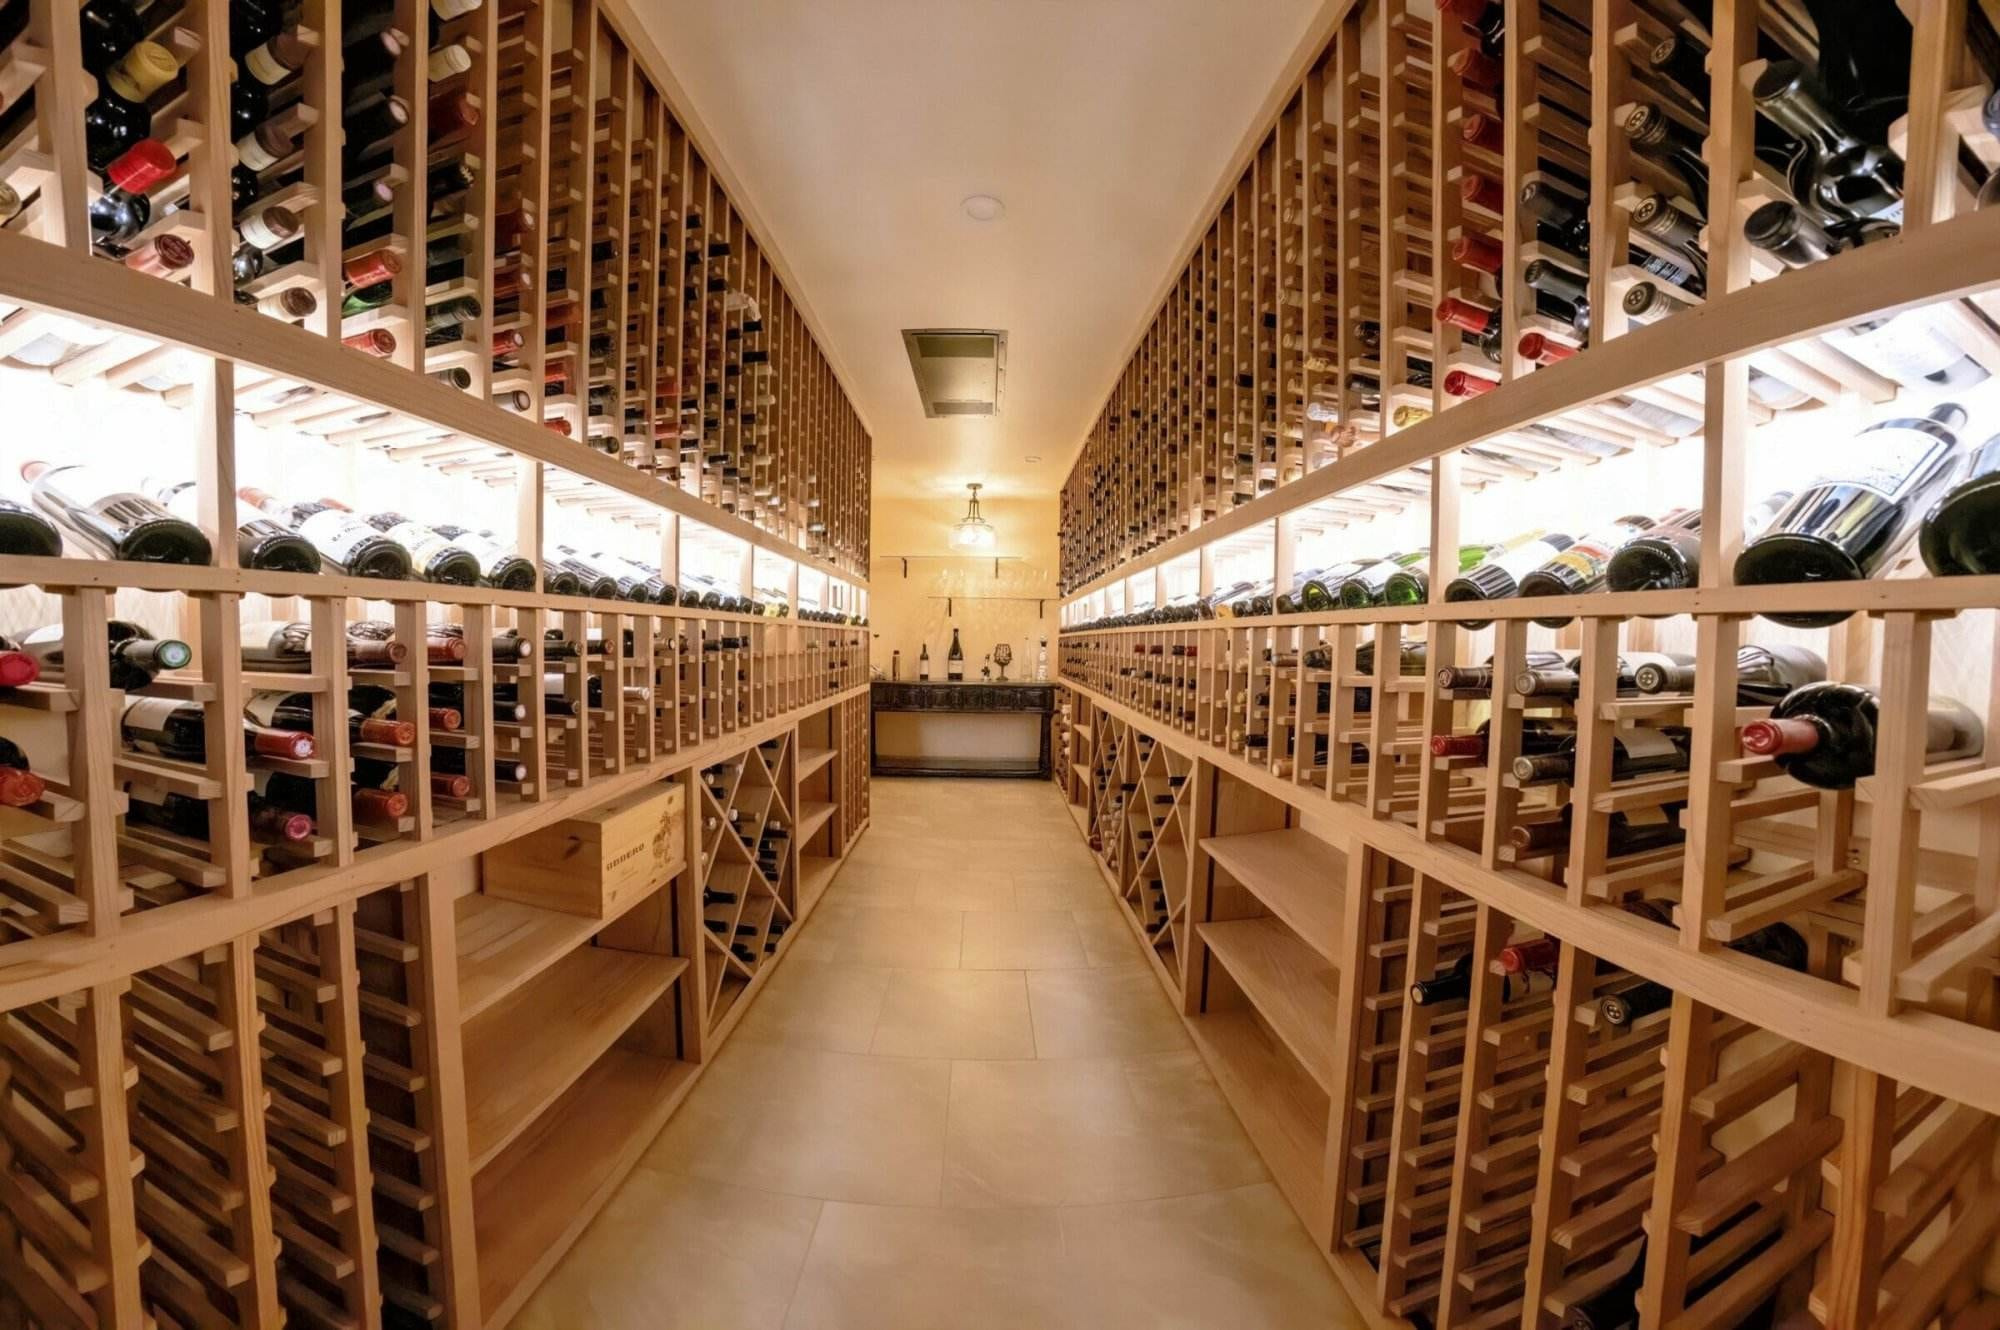
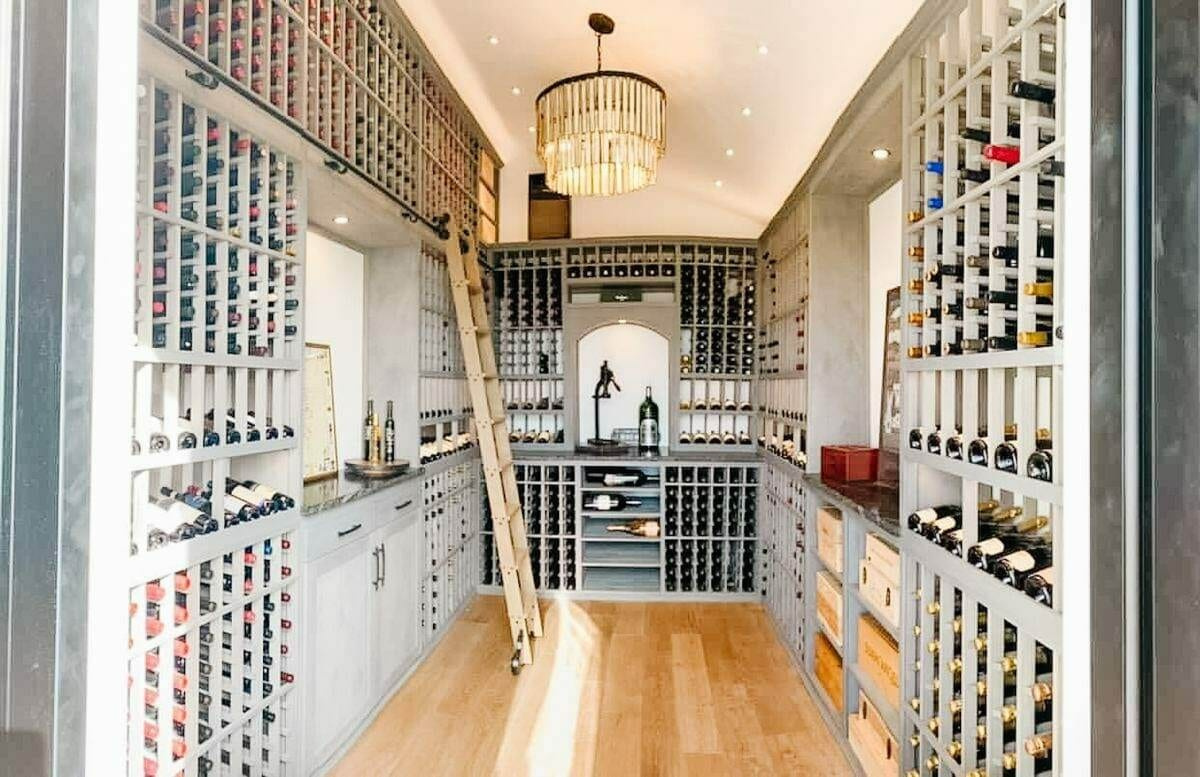
Budget-friendly materials to consider for your DIY project
When building a wine rack on a budget, it’s important to choose affordable materials that still offer durability and aesthetic appeal. Plywood or pine can be excellent options for the main structure of the wine rack, as they are readily available and cost-effective. Additionally, consider using inexpensive molding, brackets, or metal rods to add stability and style to your wine rack. By opting for budget-friendly materials, you can create a beautiful and functional wine rack without breaking the bank.
Choosing a Design and Style
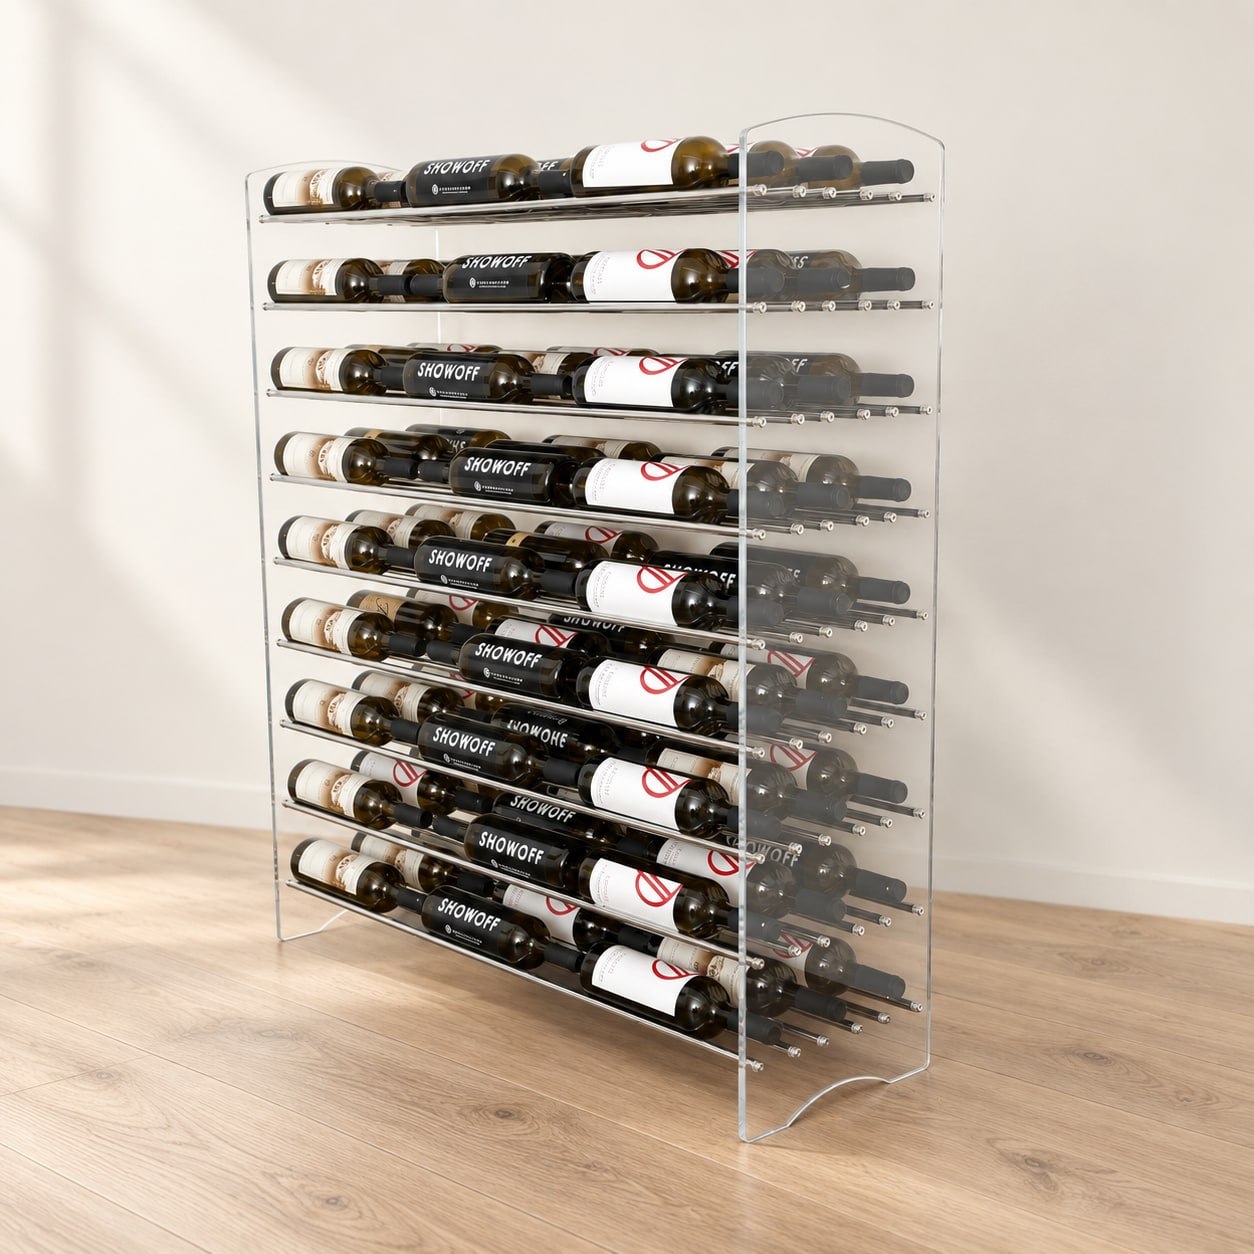
Selecting a design and style for your wine rack is an exciting part of the DIY process. Wine Hardware offers a variety of design options to suit different spaces and preferences. Consider the layout of your room and the overall aesthetic you want to achieve. Choose between wall-mounted, freestanding, or countertop designs, and explore styles like traditional, rustic, modern, or industrial. With Wine Hardware’s wide range of options, you can find the perfect design to complement your space.
Selecting a design that suits your space and preferences
When choosing a design for your wine rack, it’s important to consider the space where it will be placed and your personal preferences. Wine Hardware offers a wide range of designs to suit different spaces and styles. Whether you prefer a wall-mounted, freestanding, or countertop design, Wine Hardware has options to match your taste. Take into consideration the overall aesthetic of your room and select a design that complements it beautifully.
Exploring different styles of wine racks for inspiration
Exploring different styles of wine racks can provide inspiration for your DIY project. Wine Hardware offers a variety of styles to suit every taste. From traditional wooden racks to modern metal designs, you can find a style that complements your home decor. Whether you prefer a sleek and minimalist look or a rustic and vintage aesthetic, Wine Hardware has options that will inspire you to create the perfect wine rack for your space.
Step-by-Step Building Instructions
- Measure and mark the dimensions for your wine rack on the wall or in the designated area. Use a level and tape measure for accuracy.
- Cut the wooden planks or metal bars to the desired length using a saw or metal cutter. Sand any rough edges to create a smooth surface.
- Attach the vertical supports to the wall or floor, ensuring they are secure. Use screws or brackets for stability.
- Place the horizontal shelves or bars evenly between the vertical supports. Use a level to ensure they are straight and level.
- Secure the shelves or bars to the vertical supports using screws, brackets, or metal clips. Ensure they are firmly in place.
- Test the stability of the wine rack by applying light pressure and checking for any wobbling or movement. Make any necessary adjustments and reinforce if needed.
- If desired, add additional features such as wine glass racks or bottle holders to maximize functionality and storage space.
- Clean up any excess sawdust or metal shavings and give your wine rack a final inspection for any loose screws or sharp edges.
- Once satisfied with the construction, load your wine bottles onto the rack, ensuring they are well-supported and not at risk of falling.
- Step back and admire your newly built wine rack, knowing that you successfully created a functional and budget-friendly storage solution for your wine collection.
Note: These step-by-step instructions are general guidelines. It is important to always prioritize safety and follow proper techniques when using tools and materials. Consult professional advice if unsure about any aspect of your DIY project.
Detailed instructions for constructing your wine rack
To begin constructing your wine rack, start by marking and measuring the dimensions of your desired rack on the wall or designated area. Cut the wooden planks or metal bars to the desired length and sand any rough edges. Secure the vertical supports to the wall or floor with screws or brackets. Place the horizontal shelves evenly between the supports and secure them with screws or metal clips. Test the stability and make necessary adjustments. Optional: add wine glass racks or bottle holders. Clean up any excess debris and load your wine bottles onto the rack.
Tips for assembling and securing your wine rack
When assembling your wine rack, make sure to follow the manufacturer’s instructions carefully. Use a level to ensure that your wine rack is straight and evenly balanced. Secure the rack firmly to the wall or floor to prevent any accidents or instability. Consider using anchors or braces for added support, especially if you have a large collection. Double check all screws or clips to ensure they are properly tightened. Regularly inspect your wine rack for any signs of wear or damage and make necessary repairs promptly.
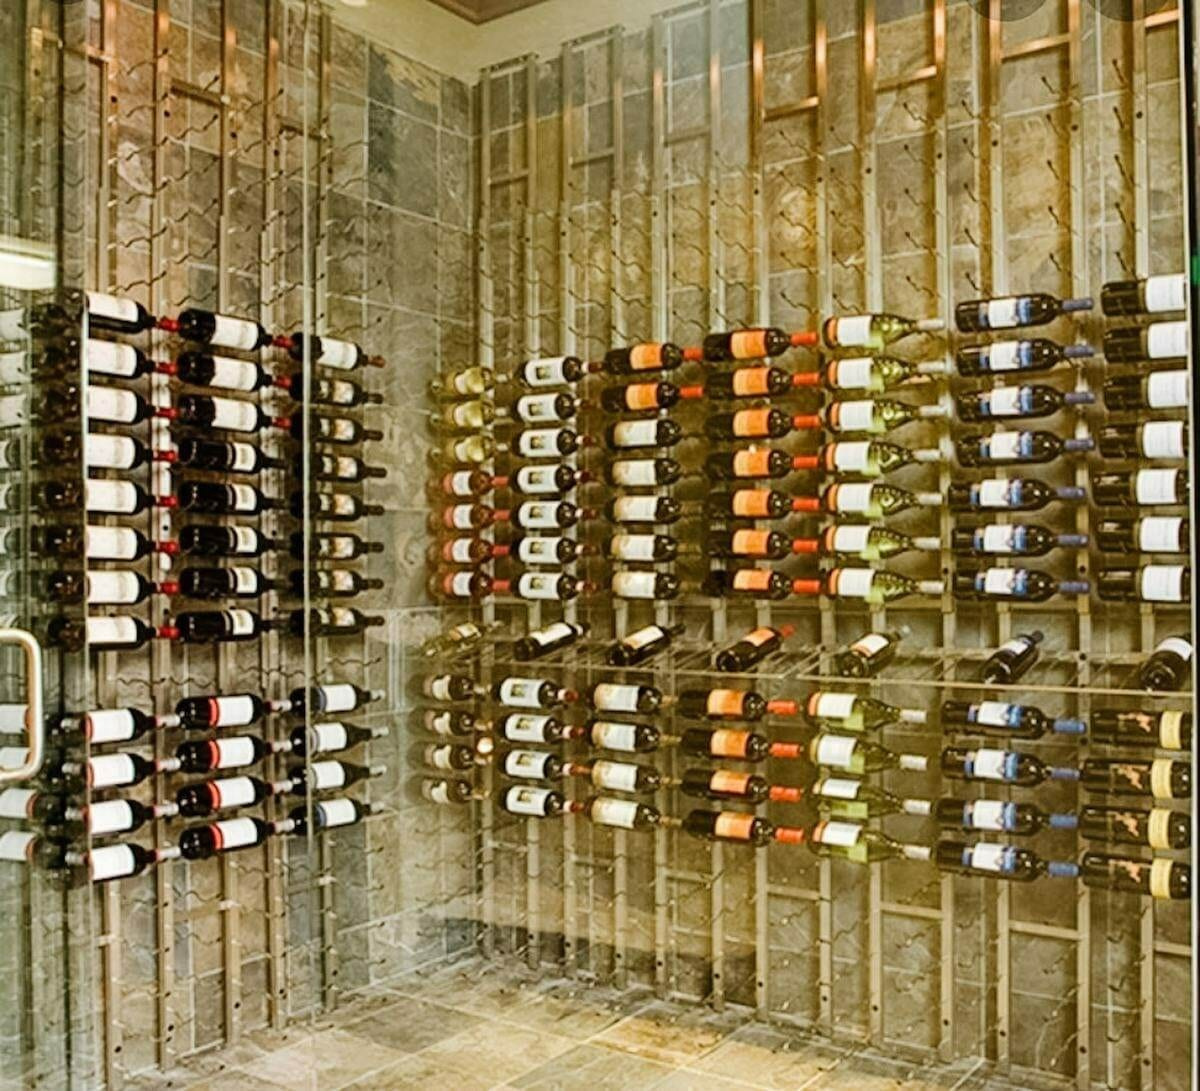
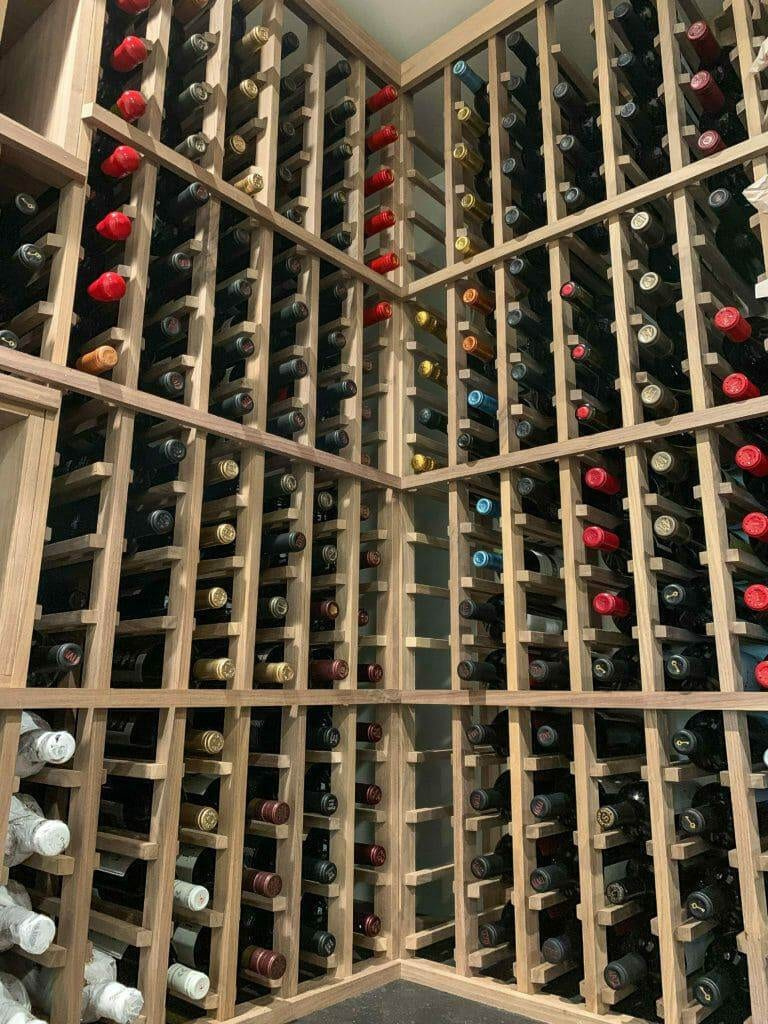
Wine Rack Finishing Touches
Options for staining or painting your wine rack:
After the construction of your wine rack is complete, you can add the finishing touches to enhance its appearance. One option is to stain the wood to highlight its natural beauty and add a touch of sophistication. Alternatively, you can paint the wine rack to match your existing decor or create a statement piece. The choice of stain or paint color is entirely up to your personal taste and style. Remember to use a finish that is safe for contact with wine bottles.
Adding personal touches and customization to your project:
To make your wine rack truly unique, consider adding personal touches and customization. You can attach labels or tags to each wine slot to help with organizing your collection. Additionally, you can incorporate decorative elements such as engraved initials or decorative accents that reflect your own style. This customization will not only make your wine rack functional but also a visually pleasing addition to your space.
Options for staining or painting your wine rack
Once the construction of the wine rack is complete, Wine Hardware recommends considering options for staining or painting to enhance its appearance. Staining the wood can highlight its natural beauty and add sophistication, while painting can match existing decor or create a statement piece. The choice of stain or paint color is up to personal taste. Remember to use a finish that is safe for contact with wine bottles.
Adding personal touches and customization to your project
Adding personal touches and customization to your wine rack is a great way to make it unique and reflect your personal style. Wine Hardware suggests considering adding decorative elements such as brass or iron accents, engraved nameplates, or even LED lighting to highlight your wine collection. Additionally, you can incorporate additional storage features like drawers or shelves to accommodate wine accessories or glasses. Get creative and make your wine rack truly yours.
Conclusion
In conclusion, building a wine rack on a budget can be a rewarding and cost-effective project. By carefully planning the location, size, and design of your wine rack, you can create a stylish and functional storage solution for your wine collection. With the right tools and materials, along with some personal touches and customization, you can proudly showcase your DIY wine rack and enjoy your favorite bottles in style. Cheers to your successful wine rack project!
Benefits of building a wine rack on a budget
Building a wine rack on a budget offers several benefits. Firstly, it allows wine enthusiasts to save money by creating their storage solution instead of purchasing an expensive pre-made one. Secondly, it provides an opportunity for customization and personalization to match individual preferences and decor. Lastly, the sense of accomplishment and pride that comes from completing a DIY project enhances the overall enjoyment of owning and displaying a wine collection.
Showcasing your finished wine rack and celebrating your DIY success
After putting in the time and effort to build a wine rack on a budget, it’s time to proudly showcase the finished product. Wine enthusiasts can display their collection with pride, knowing that they created a beautiful and functional storage solution themselves. Celebrate the DIY success by inviting friends and family over to appreciate the craftsmanship and enjoy a glass of wine together. It’s a tangible reminder of the satisfaction that comes from completing a DIY project and the joy of displaying one’s passion for wine.
Talk with Mike to review the parts and dimensions of a rack kit before you plan assembly. Start with your rack measurements at our Walnut Creek showroom, or by calling (925) 944-1084.
More on DIY wine rack planning and assembly
A rack kit assembly budget should include the whole finished arrangement. Check the instructions, supplied parts, required connections and mounting work before ordering, then decide which tasks you can complete and which need help rather than judging only the box price. Bring a room photo, available dimensions and a few representative bottle measurements to Wine Hardware in Walnut Creek. We can help you compare rack layouts before you order.
Are you looking to store a modest collection for personal enjoyment, or do you envision a more extensive setup for entertaining guests? Understanding your goals will help guide your decisions throughout the process. Next, consider the location of your wine cellar.
The ideal spot should maintain a consistent temperature and humidity level, away from direct sunlight and vibrations. Basements are often favored due to their naturally cooler temperatures, but other areas can work as well. Research local climate conditions and how they might affect your wine storage.
Additionally, familiarize yourself with the various types of wine cellars available, from simple DIY projects to more elaborate custom builds. Use that information to compare your next purchase with the space and wines you already have.
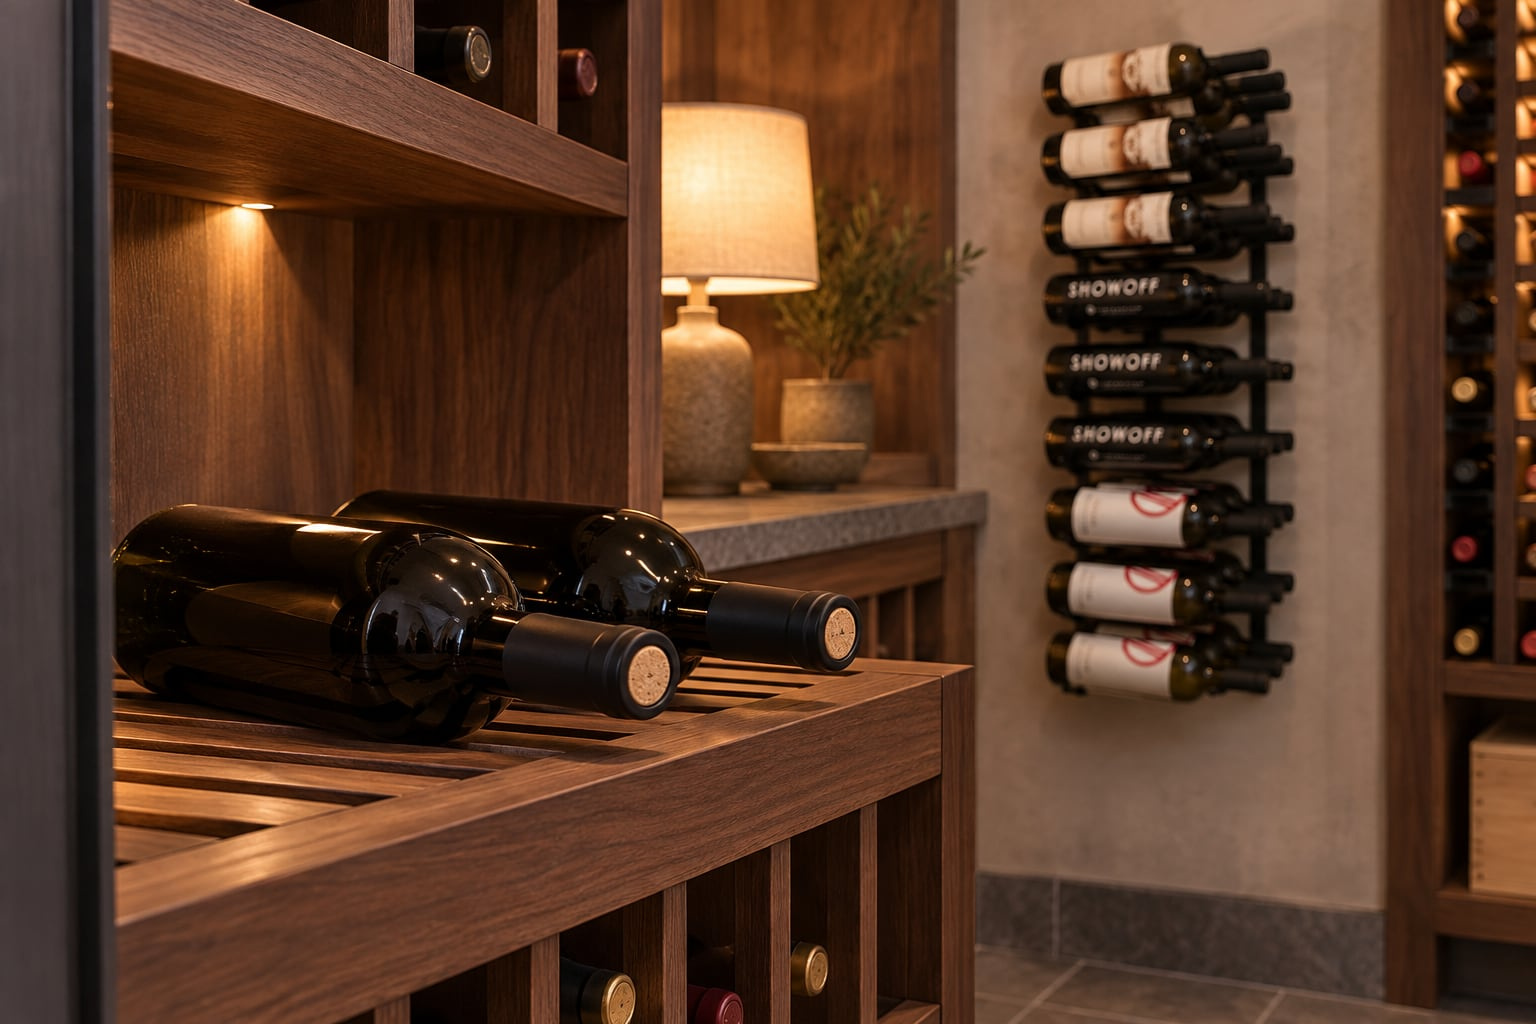
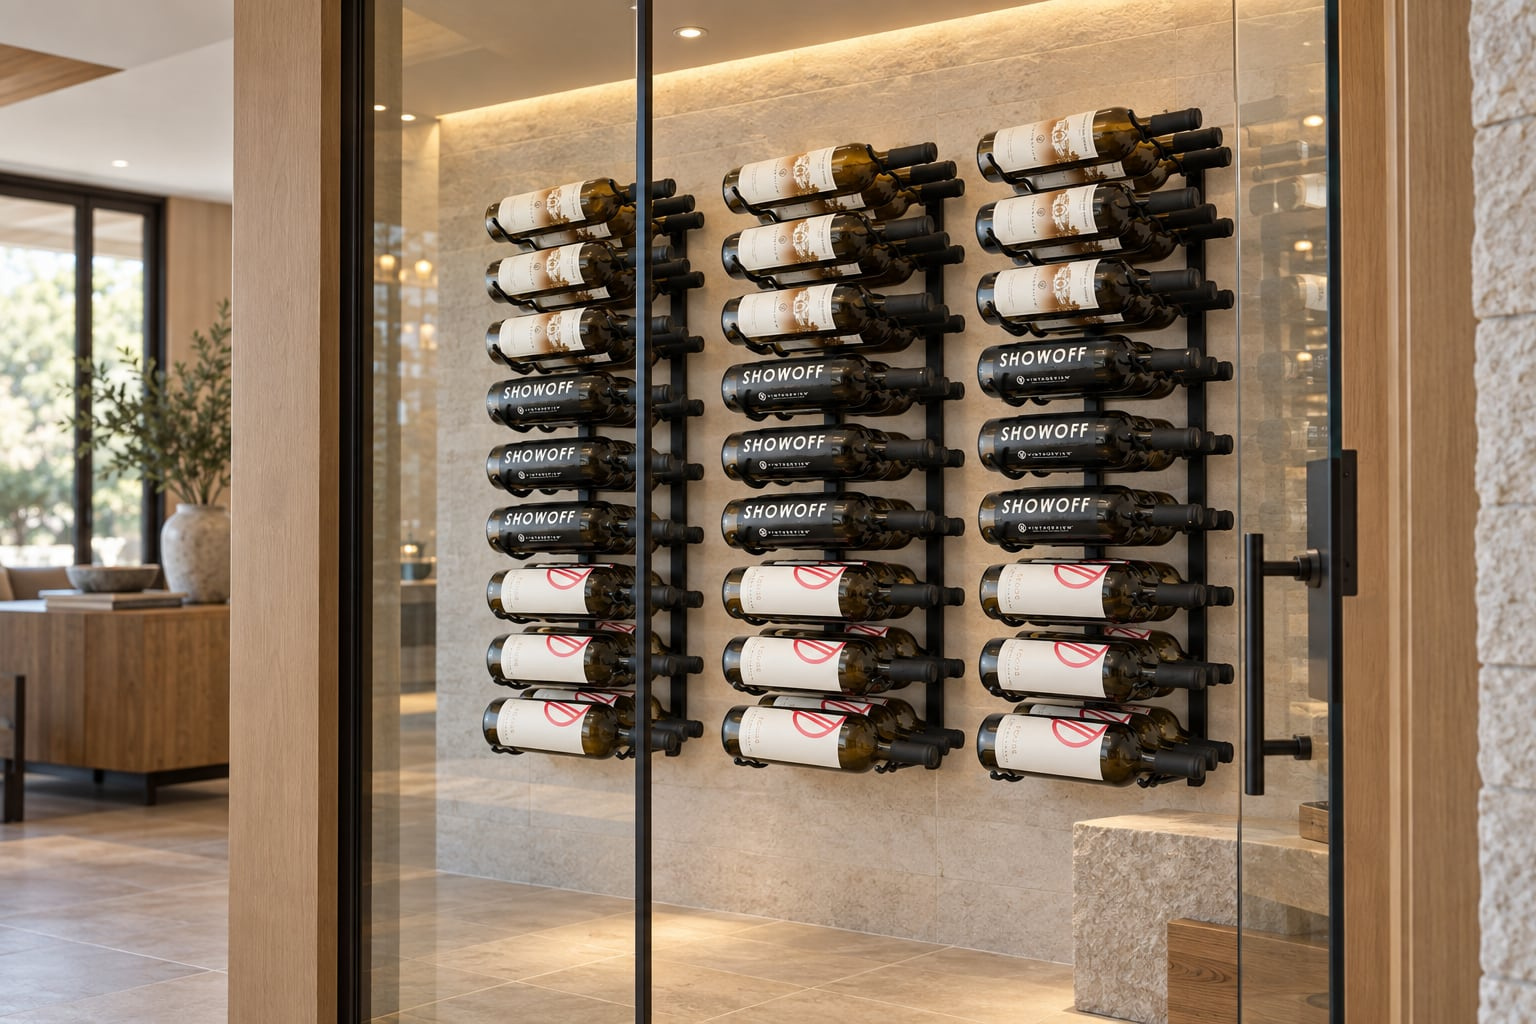
Key Takeaways
- Proper planning and research are essential before starting a collectibles display project to ensure the right materials and tools are used.
- Choosing the right materials is crucial for the longevity and aesthetic appeal of the display, so consider factors such as durability, aesthetics, and cost.
- Essential tools and equipment needed for the project include measuring tape, level, hammer, nails, screws, screwdriver, and drill.
- Step-by-step assembly instructions should be followed carefully to ensure the display is assembled correctly and securely.
- When organizing and displaying collectibles, consider factors such as theme, size, and visibility, and use shelves, shadow boxes, and display cases for an organized and visually appealing display.
Choosing the Right Materials
Selecting the right materials is crucial for both the functionality and aesthetics of your wine cellar. The primary considerations should include insulation, shelving, and flooring. Insulation is vital for maintaining a stable environment; materials such as foam board or spray foam can effectively regulate temperature and humidity levels.
Additionally, consider using materials that are resistant to moisture and mold, as these can compromise the quality of your wine. When it comes to shelving, wood is often the preferred choice due to its natural insulating properties and visual appeal. Redwood and mahogany are popular options, as they are durable and resistant to decay.
However, metal racks can also be an excellent choice for modern designs, offering a sleek look while providing sturdy support for your bottles. Flooring should be chosen with care as well; options like tile or sealed concrete are ideal for their durability and ease of maintenance. Ultimately, the materials you select should align with your design vision while ensuring optimal conditions for your wine collection.
Tools and Equipment Needed
Equipping yourself with the right tools and equipment is essential for a smooth assembly process. A well-stocked toolbox will not only make your project easier but also enhance the quality of your work. Basic tools such as a tape measure, level, and square are fundamental for accurate measurements and ensuring that everything is aligned correctly.
A power drill will be indispensable for making holes and securing shelves, while a saw will be necessary for cutting materials to size. In addition to these basic tools, consider investing in specialized equipment that can streamline your project. For instance, a stud finder can help locate wall studs for secure mounting of shelves or racks.
If you're working with larger pieces of wood or heavy materials, a miter saw can provide precise cuts at various angles. Safety gear, including gloves and goggles, should also be part of your toolkit to protect yourself during the construction process. By gathering all necessary tools beforehand, you can minimize interruptions and maintain focus on your project.
Step-by-Step Assembly Instructions
Once you have completed your planning and gathered all necessary materials and tools, it's time to dive into the assembly process. Begin by preparing the space where your wine cellar will reside. Clear out any existing items and ensure that the area is clean and dry.
If you're working in a basement or similar environment, check for any signs of moisture or leaks that may need addressing before proceeding. Next, install insulation on the walls and ceiling to create a controlled environment for your wine collection. Cut the insulation material to fit snugly between wall studs and secure it in place using adhesive or staples.
After insulating, cover the walls with drywall or paneling to create a finished look while maintaining insulation properties. Once the walls are complete, focus on installing shelving or racks according to your design plan. Use a level to ensure that each shelf is straight and secure them firmly to prevent any accidents.
Tips for Organizing and Displaying Collectibles
Organizing and displaying your wine collection is an art in itself. A well-organized cellar not only enhances accessibility but also adds to the overall aesthetic appeal of the space. Start by categorizing your wines based on various criteria such as type (red, white, sparkling), region, or vintage year.
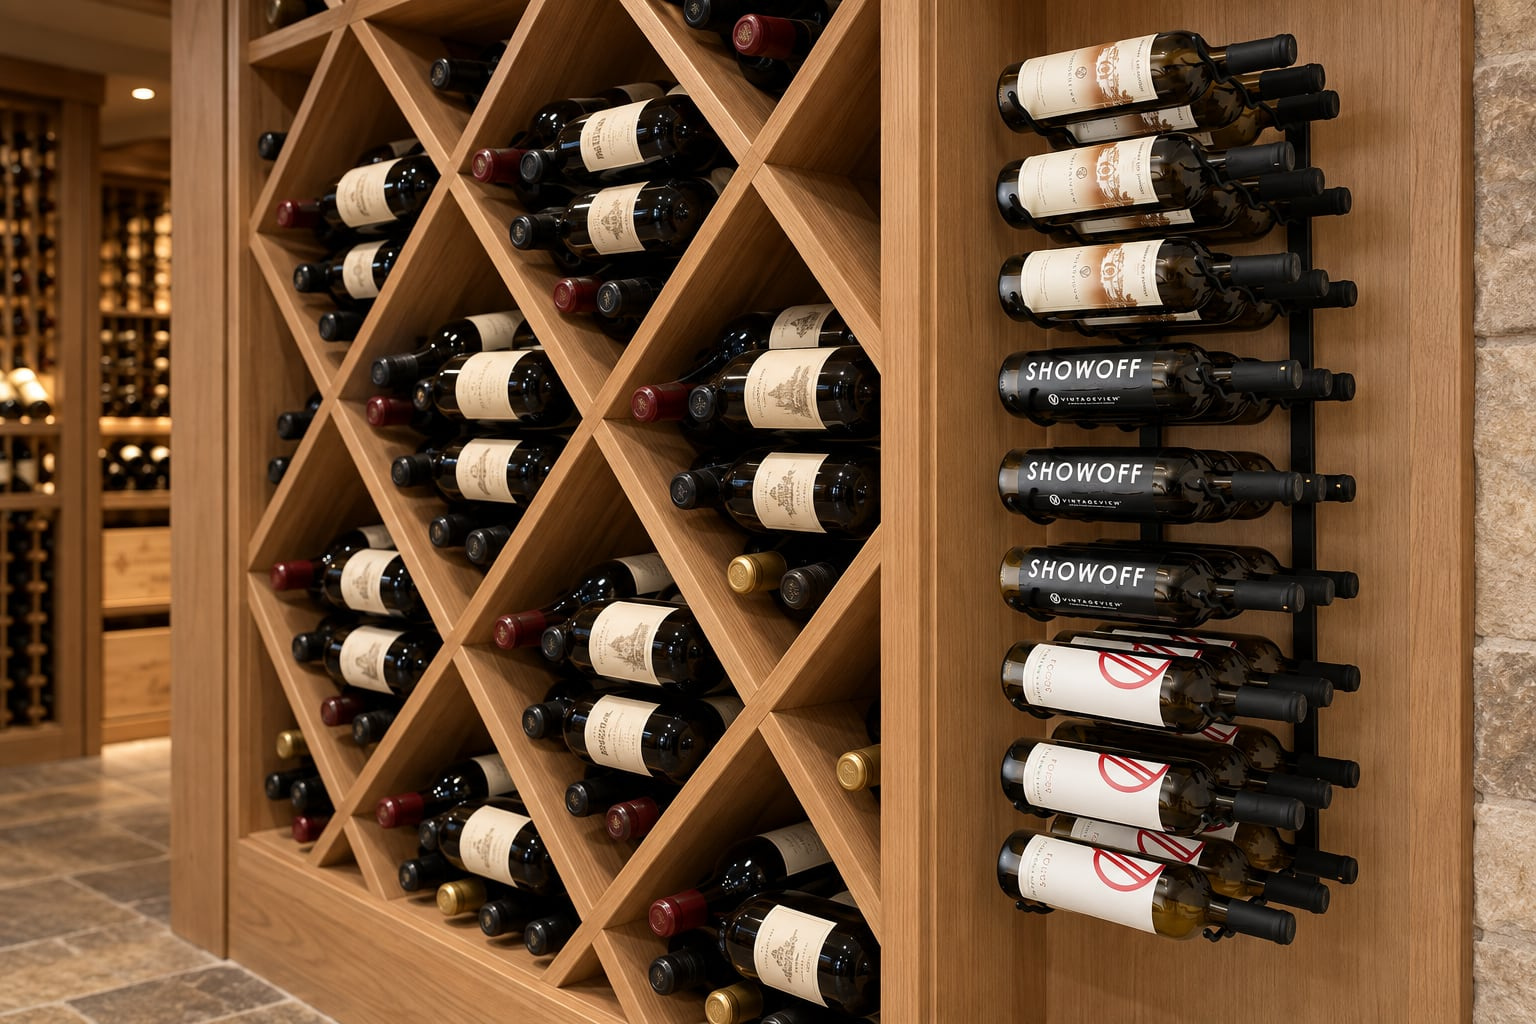
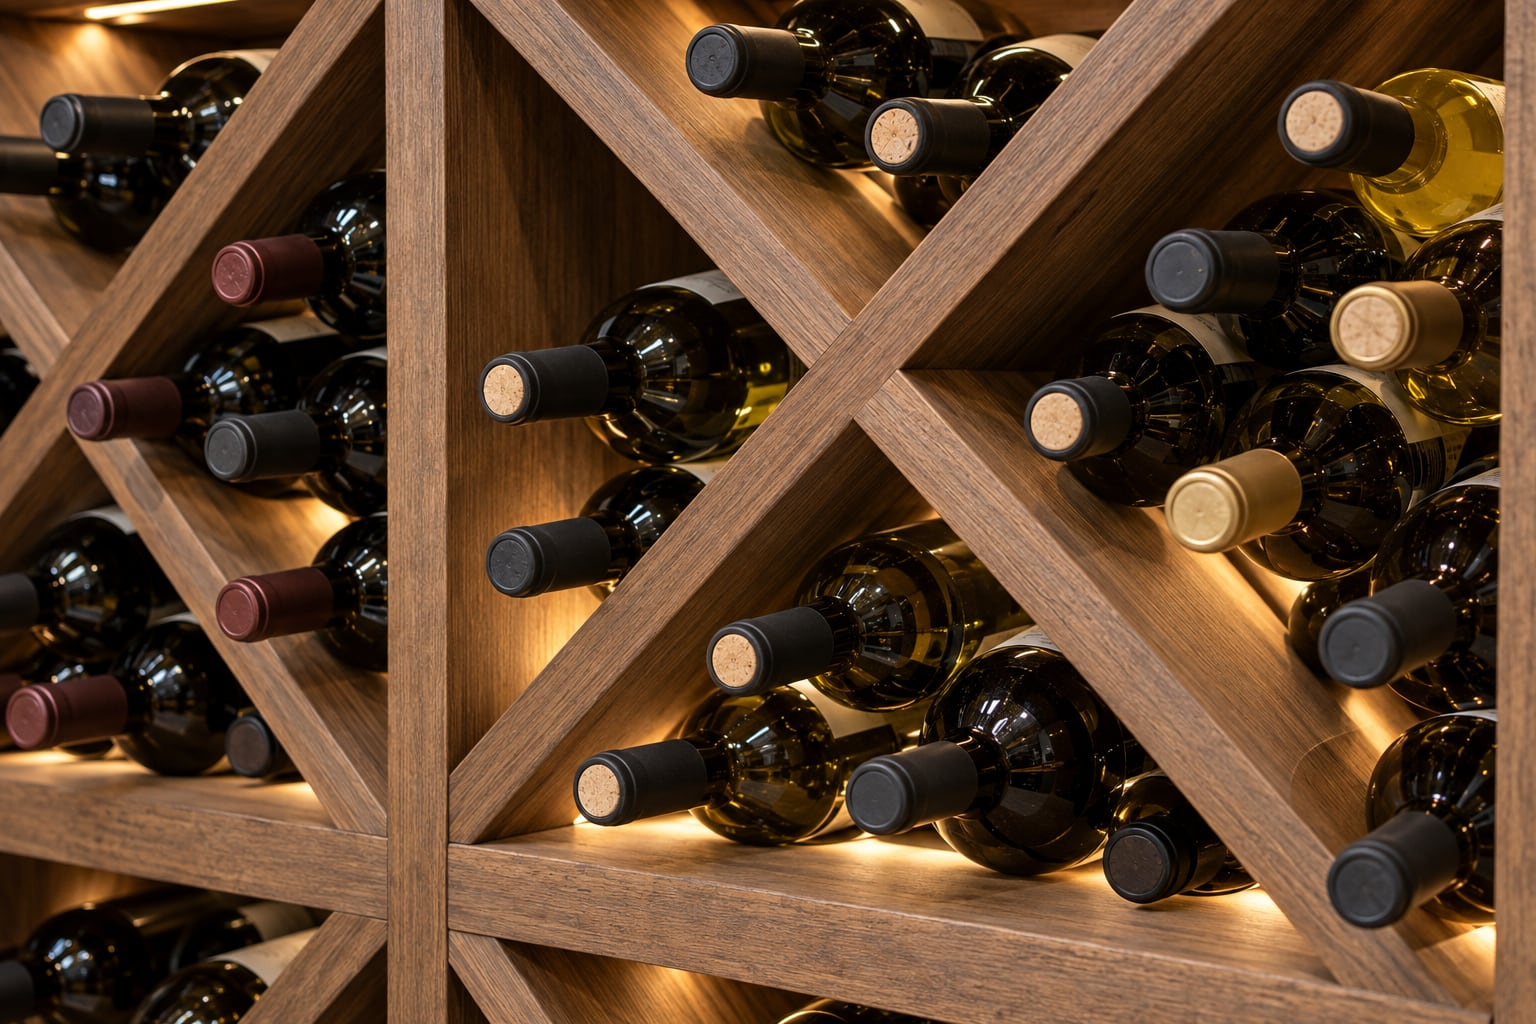
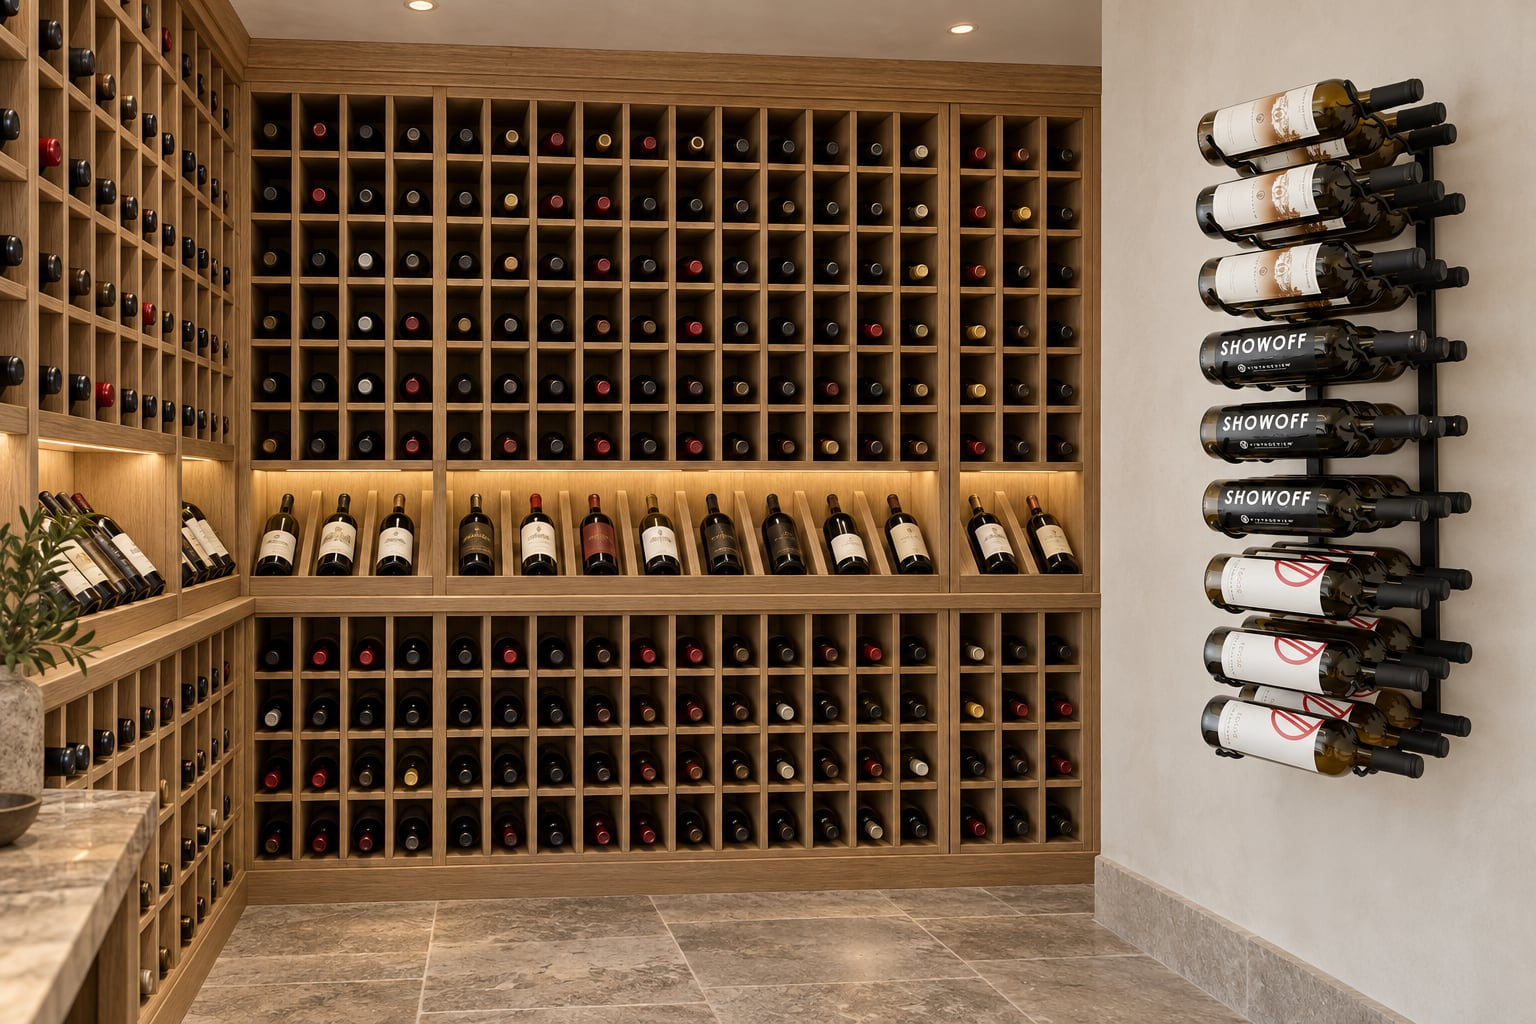
This method allows for easy retrieval when you're ready to enjoy a bottle or share it with guests. Consider incorporating creative display options that showcase your collection while maintaining functionality. For instance, use vertical racks for bottles that are meant to be stored long-term, while horizontal racks can be ideal for wines intended for immediate consumption.
Adding decorative elements such as labels or signage can also enhance the visual appeal of your cellar. Remember that lighting plays a significant role in showcasing your collection; opt for soft LED lights that won't emit heat or UV rays, which can damage wine over time.
Safety Precautions
Safety should always be a priority during any construction project, including building a wine cellar. Begin by ensuring that your workspace is free from hazards such as clutter or loose wires that could lead to accidents. When using power tools, familiarize yourself with their operation and always follow manufacturer guidelines to prevent injuries.
Additionally, consider ventilation within your wine cellar to prevent mold growth and ensure air circulation. If you're using chemicals such as adhesives or paints during construction, work in a well-ventilated area and wear appropriate protective gear like masks and gloves. Finally, be mindful of lifting techniques when handling heavy materials; use proper body mechanics to avoid strain or injury.
Budget-Friendly Alternatives
Building a wine cellar doesn't have to break the bank; there are numerous budget-friendly alternatives available that can help you achieve your vision without overspending. Start by exploring reclaimed materials for shelving and flooring; not only are they often more affordable, but they also add character to your space. Local salvage yards or online marketplaces can be excellent sources for finding unique items at lower prices.
Compare the cost and installation requirements of DIY insulation and shelving with the work in your cellar plan. Instead of purchasing pre-made racks, you can create custom shelving using plywood or other affordable materials tailored to fit your specific needs. Additionally, look into second-hand tools or borrowing from friends to save on costs associated with purchasing new equipment.
By being resourceful and creative in your approach, you can build an impressive wine cellar without exceeding your budget.
Troubleshooting and Maintenance
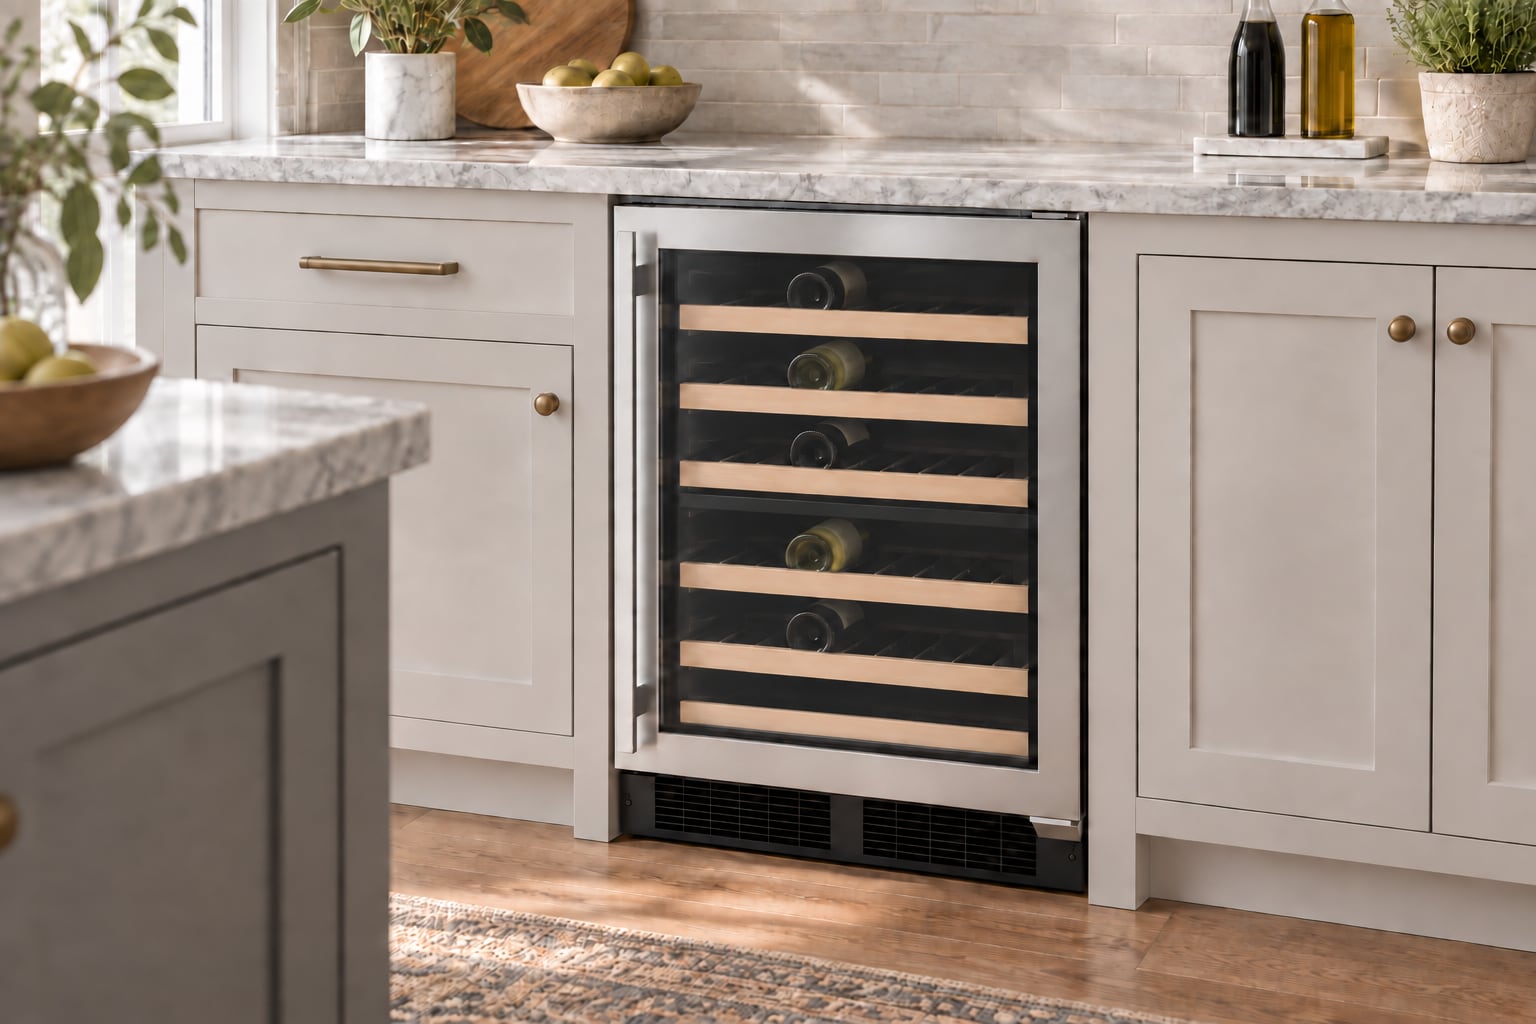
Once your wine cellar is complete, ongoing maintenance is crucial to ensure optimal conditions for your collection. Check temperature and humidity readings against the settings agreed for your collection and the exact equipment instructions. If you notice fluctuations outside these ranges, consider investing in a dedicated wine cooling unit or humidifier/dehumidifier to maintain stability.
Additionally, inspect your cellar periodically for any signs of mold or pests that could threaten your collection. Keeping the space clean and organized will help prevent issues from arising in the first place. If you encounter any problems during maintenance - such as leaks or structural concerns - address them promptly to avoid further complications down the line.
By staying proactive about maintenance and troubleshooting, you can enjoy your wine cellar for years to come while preserving the quality of your cherished collection.
FAQs
What is a rack kit?
A rack kit is a set of components used to assemble a rack for storing and displaying collectibles, such as action figures, model cars, or vinyl records.
What are some budget-friendly assembly tips for first-time collectors?
- Look for affordable rack kits that are easy to assemble and made of durable materials.
- Consider purchasing a pre-owned rack kit from online marketplaces or local classifieds to save money.
- Utilize household tools, such as a screwdriver or hammer, to assemble the rack kit instead of buying specialized tools.
- Take advantage of online tutorials and instructional videos to learn how to assemble the rack kit properly without the need for professional assistance.
How can first-time collectors ensure the stability and safety of their assembled rack kit?
- Follow the assembly instructions provided with the rack kit carefully to ensure all components are securely fastened.
- Double-check the stability of the assembled rack by gently shaking it to see if it wobbles or feels unsteady.
- Place the assembled rack on a level surface to prevent it from tipping over or causing damage to the collectibles displayed on it.
- Consider anchoring the rack to a wall for added stability, especially if it is tall or holds heavy items.
What are some common mistakes to avoid when assembling a rack kit for the first time?
- Over-tightening screws or bolts, which can strip the threads or damage the components.
- Ignoring the weight capacity of the rack kit and overloading it with too many collectibles.
- Failing to properly align and level the components during assembly, which can result in an unstable rack.
- Disregarding the manufacturer's recommendations for maintenance and care of the rack kit after assembly.
Budget-Friendly Rack Kit Assembly Tips
Smart and Affordable Rack Kit Assembly Tips for First-Time Collectors
What are some budget-friendly assembly tips for first-time collectors?
- Look for affordable rack kits that are easy to assemble and made of durable materials. - Consider purchasing a pre-owned rack kit from online marketplaces or local classifieds to save money. - Utilize household tools, such as a screwdriver or hammer, to assemble the rack kit instead of buying specialized tools. - Take advantage of online tutorials and instructional videos to learn how to assemble the rack kit properly without the need for professional assistance.
How can first-time collectors ensure the stability and safety of their assembled rack kit?
- Follow the assembly instructions provided with the rack kit carefully to ensure all components are securely fastened. - Double-check the stability of the assembled rack by gently shaking it to see if it wobbles or feels unsteady. - Place the assembled rack on a level surface to prevent it from tipping over or causing damage to the collectibles displayed on it. - Consider anchoring the rack to a wall for added stability, especially if it is tall or holds heavy items.
What are some common mistakes to avoid when assembling a rack kit for the first time?
- Over-tightening screws or bolts, which can strip the threads or damage the components. - Ignoring the weight capacity of the rack kit and overloading it with too many collectibles. - Failing to properly align and level the components during assembly, which can result in an unstable rack. - Disregarding the manufacturer's recommendations for maintenance and care of the rack kit after assembly. Budget-Friendly Rack Kit Assembly Tips
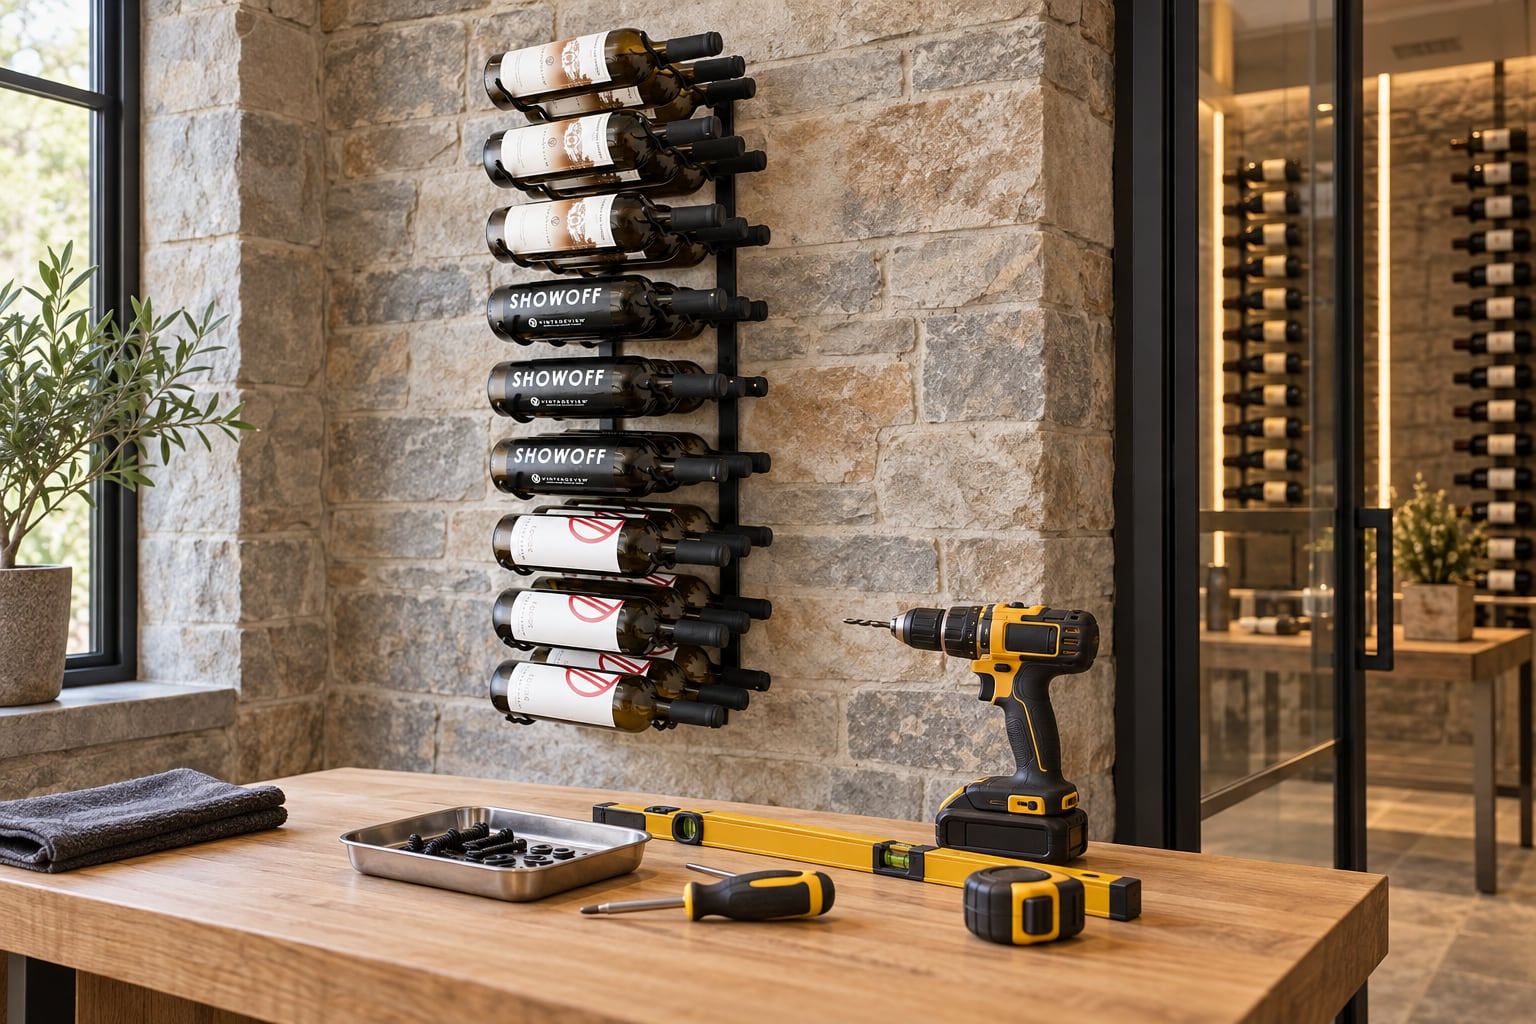
A budget cellar rack plan should separate affordable choices from unfinished requirements. Compare kit and DIY layouts with the same bottle mix, include assembly and attachment work, and keep the room's cooling and enclosure scope clear before treating rack savings as total-project savings. Bring a room photo, available dimensions and a few representative bottle measurements to Wine Hardware in Walnut Creek. We can help you compare rack layouts before you order.
Creating a wine cellar on a budget is important for several reasons. Firstly, it allows wine enthusiasts to enjoy the benefits of having a dedicated space for their collection without breaking the bank. Compare reused materials and rack designs against bottle support, dimensions and the work needed to make them usable. Lastly, it allows individuals to customize their wine cellar according to their own preferences and needs, rather than relying on expensive pre-made options.
Assessing Your Space: Choosing the Right Location for Your Wine Cellar
When creating a wine cellar on a budget, it is important to choose the right location for your cellar. Factors to consider include the availability of space, accessibility, and the ability to control temperature and humidity.
Ideally, a wine cellar should be located in a cool, dark place with minimal fluctuations in temperature and humidity. Agree storage settings for the collection and review temperature and humidity together with the installer. It is important to avoid areas that are subject to extreme temperature changes or direct sunlight, as this can negatively impact the quality of the wine.
If you have limited space, there are still ways to create a wine cellar. Consider utilizing unused areas such as under stairs or in closets. These spaces can be transformed into functional wine cellars with some creativity and planning. Installing insulation and climate control systems can help maintain the ideal conditions for storing wine.
DIY Custom Rack Ideas: Maximizing Storage Space with Minimal Cost
Building your own wine rack is a cost-effective way to maximize storage space in your wine cellar. It allows you to customize the design and size of the rack according to your needs and available space. Additionally, building your own wine rack can be a fun and rewarding DIY project.
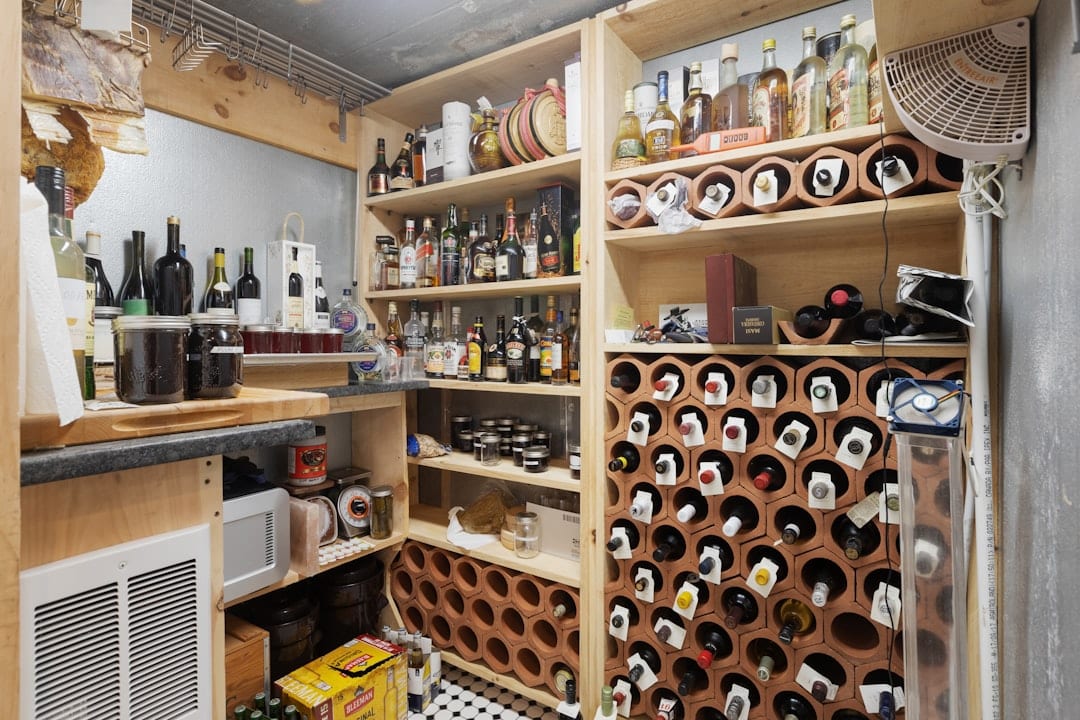
There are many creative ideas for custom wine racks that can be made with minimal cost. For example, using PVC pipes or wooden crates can create a unique and functional wine rack. Another idea is to repurpose old ladders or pallets to create a rustic and stylish wine rack. The possibilities are endless, and it all depends on your creativity and resourcefulness.
When building a custom wine rack, it is important to make the most of your space with minimal cost. This can be achieved by utilizing vertical space, adding shelves or compartments, and ensuring that the rack is sturdy and secure. By maximizing storage space, you can accommodate a larger wine collection without spending a fortune.
Materials and Tools: What You Need to Build Your Own Wine Rack
To build your own wine rack, you will need some essential materials and tools. The materials needed will depend on the design and size of the wine rack you choose to build. Common materials include wood, PVC pipes, metal rods, or even repurposed furniture.
When it comes to finding affordable materials, there are several options available. Local hardware stores often have discounted or clearance sections where you can find materials at a lower cost. Additionally, online marketplaces such as Craigslist or Facebook Marketplace can be great sources for finding used or discounted materials.
In terms of tools, you will need basic tools such as a saw, drill, screws, and sandpaper. These tools are often readily available in most households or can be borrowed from friends or family members. If you don't have access to these tools, consider renting them from a local hardware store instead of purchasing them outright.
Basic Wine Rack Designs: Simple and Effective Ways to Store Your Bottles
There are several basic wine rack designs that are simple and effective for storing your bottles. These designs are easy to build and can accommodate a range of bottle sizes.
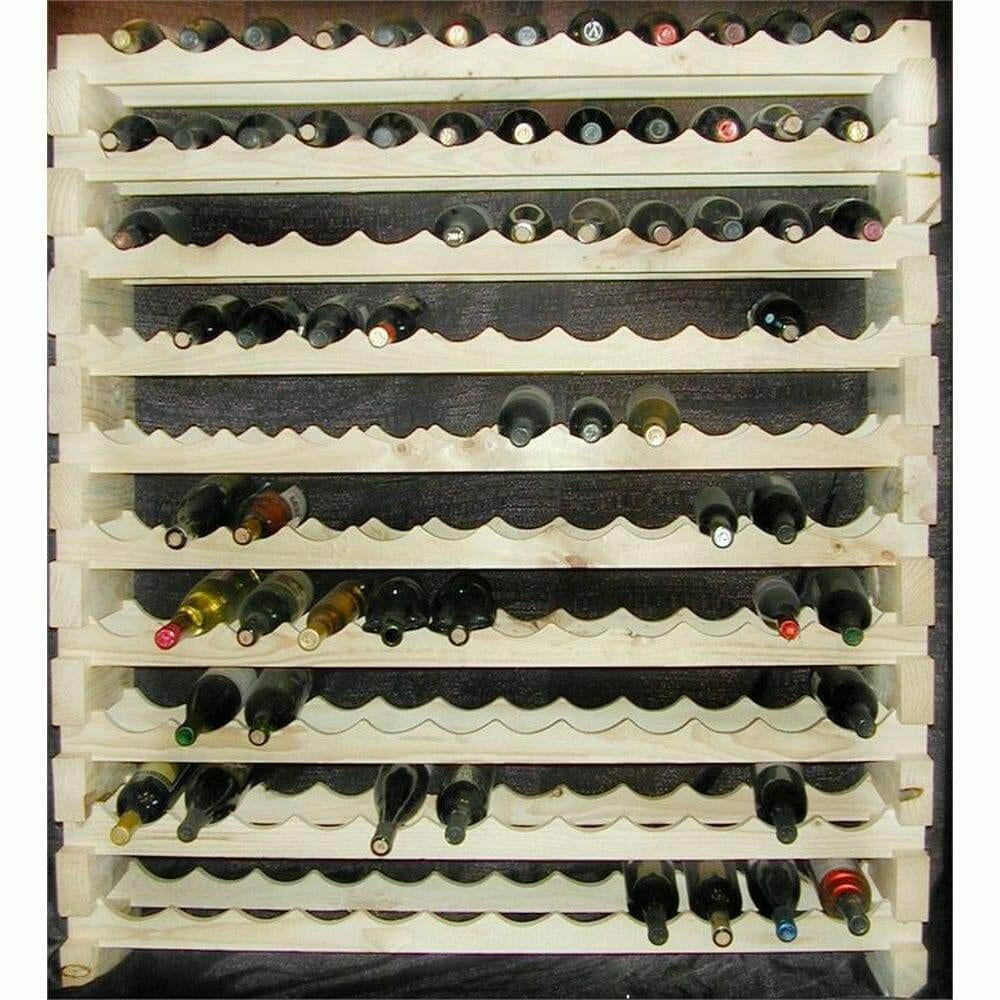
One common design is the stackable wine rack, which consists of individual modules that can be stacked on top of each other. This design allows for flexibility in terms of size and can be easily expanded as your collection grows. Another simple design is the wall-mounted wine rack, which utilizes vertical space and can be easily installed on a wall.
To build a basic wine rack, start by measuring the dimensions of your space and determining the number of bottles you want to store. Then, cut the wood or other materials to the appropriate size and assemble the pieces using screws or nails. Sand the surfaces to ensure a smooth finish, and consider adding a protective coating such as varnish or paint.
When organizing your bottles in a basic wine rack, consider grouping them by type or region. This will make it easier to locate specific bottles when needed. Additionally, consider labeling each section or shelf to keep track of your collection.
Advanced Wine Rack Designs: Adding Style and Functionality to Your Cellar
For more advanced DIYers, there are creative wine rack designs that can add style and functionality to your wine cellar. These designs often require more time and effort to build but can result in a unique and impressive wine storage solution.
One example is the spiral wine rack, which utilizes a spiral-shaped design to maximize storage space while adding visual interest. Another advanced design is the diamond-shaped wine rack, which creates an elegant and modern look. These designs often require more precise measurements and cutting, so it is important to take your time and follow instructions carefully.
To add style and functionality to your wine cellar, consider incorporating additional features such as lighting or a tasting area. LED strip lights can be easily installed under shelves or along the edges of the wine rack to create a warm and inviting ambiance. Additionally, creating a designated area for wine tasting with comfortable seating and a small table can enhance the overall experience of your wine cellar.
When organizing your bottles in an advanced wine rack, consider grouping them by age or vintage. This will allow you to easily access bottles that are ready to be enjoyed while keeping track of those that need more time to age. Additionally, consider using wine tags or labels to provide additional information about each bottle, such as the grape variety or tasting notes.
Repurposing furniture for wine storage
Before converting furniture for wine storage, check its condition, bottle support and the room conditions where it will sit. This approach not only saves money but also gives new life to old furniture that may otherwise end up in a landfill.
Measure the piece and plan how bottles will be supported and retrieved before making the conversion. For example, an old dresser can be transformed into a wine cabinet by removing drawers and adding wine racks or shelves. A bookshelf can be repurposed by adding wine glass holders and additional shelves for storing bottles.
When repurposing furniture, it is important to consider the size and dimensions of the piece. Ensure that it can accommodate the number of bottles you want to store and that it fits well in your space. Additionally, consider refinishing or painting the furniture to match the style of your wine cellar.
Using Recycled Materials: Eco-Friendly Ways to Build Your Wine Cellar
Using recycled materials is not only a budget-friendly option but also an eco-friendly way to build your wine cellar. By repurposing materials that would otherwise end up in a landfill, you can reduce waste and minimize your environmental impact.
There are many creative ideas for using recycled materials in your wine cellar. For example, old wine barrels can be transformed into unique and functional wine racks or tables. Wooden pallets can be disassembled and repurposed into shelves or wine glass holders. Even old wine bottles can be used as decorative elements or turned into candle holders.
When using recycled materials, it is important to ensure that they are clean and safe for use. Remove any labels or stickers from bottles and clean them thoroughly before incorporating them into your wine cellar. Additionally, consider refinishing or painting recycled materials to give them a fresh and polished look.
Tips for Organizing Your Wine Collection: Keeping Track of Your Bottles
Organizing your wine collection is essential for keeping track of your bottles and ensuring that they are stored properly. There are many creative ideas for organizing your bottles that can be tailored to your specific needs and preferences.
One tip for organizing your wine collection is to group bottles by type or region. This makes it easier to locate specific bottles when needed and allows you to easily compare wines from the same region or grape variety. Additionally, consider using wine tags or labels to provide additional information about each bottle, such as the vintage or tasting notes.
Another tip is to create a system for tracking your bottles. This can be as simple as keeping a spreadsheet or notebook where you record the details of each bottle, such as the date of purchase, price, and tasting notes. Alternatively, there are many smartphone apps available that can help you organize and track your wine collection digitally.
Enjoying Your Wine Cellar on a Budget
Creating a wine cellar on a budget allows wine enthusiasts to enjoy the benefits of having a dedicated space for their collection without breaking the bank. By assessing your space, building your own wine rack, repurposing furniture, and using recycled materials, you can create a unique and functional wine cellar that suits your needs and preferences.
Remember to consider factors such as temperature and humidity when choosing the location for your wine cellar. Additionally, take advantage of DIY custom rack ideas and advanced wine rack designs to maximize storage space and add style to your cellar. Finally, organize your wine collection and keep track of your bottles to ensure that each bottle is stored properly and enjoyed at its best.
Creating a wine cellar on a budget is not only a cost-effective solution but also a rewarding and creative endeavor. By utilizing your resources and thinking outside the box, you can create a wine cellar that reflects your personal style and allows you to enjoy your wine collection to the fullest. Cheers!
If you're looking to create a wine cellar on a budget, you may also be interested in learning how to quickly cook your purchased wine while wine tasting. This article from Wine Hardware provides tips and tricks on how to enhance the flavors of your wine through cooking techniques. Check it out Protecting Wine From Heat During Tasting Trips for some creative ideas to elevate your wine tasting experience.
Get Mike's help to review a rack plan around your budget and assembly questions. Call (925) 944-1084 with your rack measurements, or bring them to the showroom in Walnut Creek.